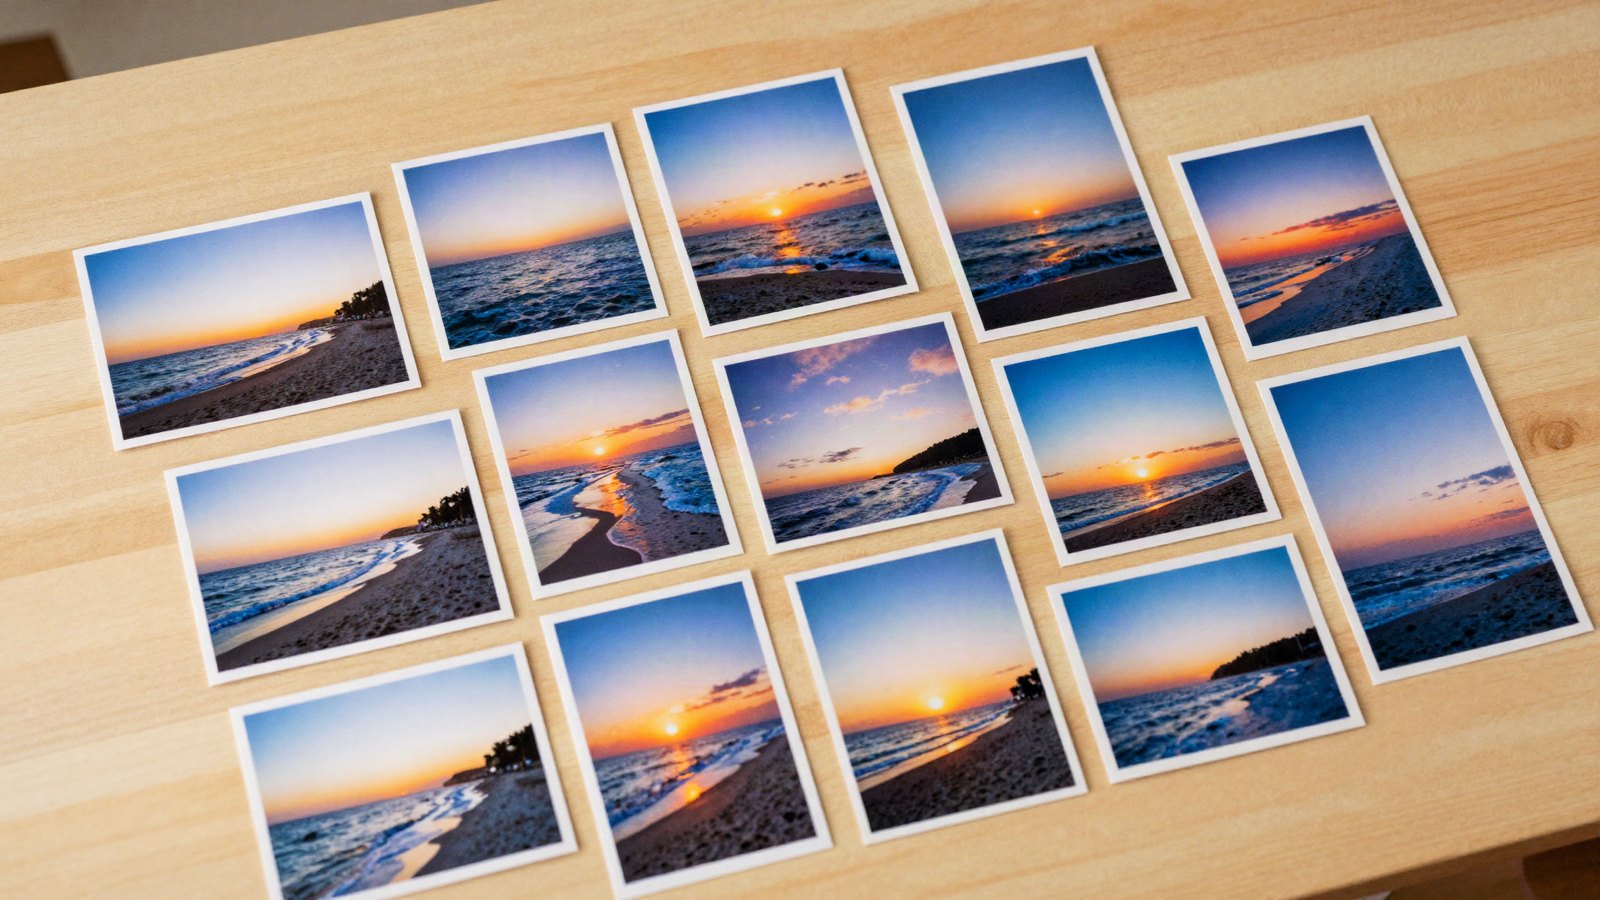
Editing 300 photos from a weekend trip one by one is how people end up never finishing. Lightroom was built for exactly this problem. Edit one photo well, then push that edit to the rest, and spend your time only on the frames that genuinely need individual attention.
This guide shows you how to batch edit photos in Lightroom using Sync, Auto Sync, copy and paste, and presets applied during import. We cover Lightroom Classic in the most detail, since it has the most batch tools, then the equivalents in Lightroom desktop and mobile.
Quick answer: To batch edit in Lightroom Classic, edit one photo, select it plus the others in the Filmstrip, and click Sync at the bottom of the Develop panels. Tick the settings to copy and click Synchronize. In Lightroom desktop and mobile, copy the edit settings from one photo and paste them onto a multi-photo selection.
On this page
Before you batch edit: group your photos
Batch editing works when the photos share similar light. A sunset sequence, a set of indoor portraits by one window, or twenty product shots on the same table all respond to the same edit. Mix daylight beach shots with dim restaurant shots and no single edit will fit both.
So the first step is sorting. In Lightroom Classic, use the Library Grid (press G) and select runs of similar photos. Collections are handy here: drag each lighting situation into its own collection and batch edit one collection at a time.
Then pick a reference photo from each group. Choose a typical frame, not the best or the worst, and edit it fully. Everything else will be based on it.
Method 1: Sync settings in Lightroom Classic
Sync is the most flexible batch tool in Classic because it lets you choose exactly which settings travel.
- In the Develop module, finish editing your reference photo.
- Keeping that photo selected, Shift-click or Ctrl/Cmd-click the other photos in the Filmstrip at the bottom of the screen. Your reference photo should stay the active one, shown with a slightly brighter highlight than the rest.
- Click the Sync button at the bottom of the right-hand panels.
- In the Synchronize Settings dialog, tick the settings to copy and untick the rest (see the checklist below).
- Click Synchronize. Every selected photo now has those settings.
The same command exists in the Library module as the Sync Settings button at the bottom of the right panel, which is convenient when you are already working in the Grid.
What to tick in the Synchronize Settings dialog
- Usually tick: Process Version, Treatment and Profile, Basic Tone (Contrast, Highlights, Shadows, Whites, Blacks), Presence settings like Texture, Clarity, Dehaze, Vibrance and Saturation, Tone Curve, HSL/Color, Color Grading, Lens Corrections, Effects and Calibration.
- Tick only if the light truly matches: White Balance and Exposure. Fine for a studio or a single sunset sequence, risky otherwise.
- Usually untick: Crop, Spot Removal, Transform and Masking. These almost always belong to one specific frame.
Quick tip: If you want AI masks like Select Subject or Select Sky on every photo, you can tick Masking. In recent versions, those AI masks are recalculated for each photo when synced. Hand-painted brush masks are copied as drawn and rarely fit other frames.
Method 2: Auto Sync for live batch editing
Auto Sync applies every slider move to all selected photos as you make it. It is the fastest way to tweak a group together, and also the easiest way to make a mess if you forget it is on.
- In the Develop module, select several photos in the Filmstrip.
- Flip the small switch to the left of the Sync button. The button label changes to Auto Sync. (Ctrl-click on Windows or Cmd-click on Mac on the Sync button toggles it too.)
- Adjust any slider. The change applies to every selected photo.
- Turn Auto Sync off when you are done.
Auto Sync is great for small group corrections, like lowering Highlights by 10 on a burst of sky photos. Turn it off before you go back to editing photos individually, or you will be wondering why your other photos keep changing.
Method 3: Copy and paste settings
Copy and paste is ideal when the photos you want to match are not next to each other, or when you want to grab an edit now and use it later.
In Lightroom Classic
- Copy: on the edited photo, press Ctrl+Shift+C (Windows) or Cmd+Shift+C (Mac), or click the Copy button at the bottom of the left panel in Develop. The Copy Settings dialog lets you tick which settings to include.
- Paste to one photo: select the target and press Ctrl+Shift+V or Cmd+Shift+V, or click Paste.
- Paste to many: go to the Library Grid, select all the target photos and press the same paste shortcut. You can also use Photo > Develop Settings > Paste Settings.
- Previous: with a single photo selected in Develop, the Previous button (Ctrl+Alt+V or Cmd+Option+V) pastes all settings from the last photo you selected. Very quick when working through a sequence.
In Lightroom desktop
Open the edited photo and use Photo > Copy Edit Settings, or Choose Edit Settings to Copy if you want to pick which settings go. Then select the target photos in the Grid view (Ctrl/Cmd-click to select several) and use Photo > Paste Edit Settings. Keyboard shortcuts are listed next to each command in the menu, and the exact labels may differ slightly by version.
In Lightroom mobile
- Open the edited photo, tap the three-dot menu at the top and choose Copy Settings. Choose the settings to include and confirm.
- Go back to the grid and long-press a photo to enter selection mode, then tap the others you want to change.
- Tap the paste option shown for the selection (its position varies by version; look in the bottom bar or three-dot menu).
If your version only offers paste inside the editor, open each photo and use three-dot menu > Paste Settings. It is slower, but still much faster than editing from scratch.
Method 4: Apply presets to many photos at once
A preset is a reusable batch edit. Once you have one you trust, you can apply it to a whole shoot in a few clicks. Our guide to creating your own Lightroom preset shows how to build one that travels well.
On import (Lightroom Classic)
- Open the Import dialog with File > Import Photos and Video.
- In the right-hand column, open the Apply During Import panel.
- Choose your preset from the Develop Settings dropdown.
- Import as normal. Every photo arrives with the preset already applied.
Keep import presets gentle: profile, lens corrections, a mild tone curve. Strong looks are better applied after you have culled the shoot and grouped photos by light.
After import
- Library module (Classic): select photos in the Grid, then choose your preset from the Saved Preset dropdown in the Quick Develop panel.
- Develop module (Classic): recent versions apply a clicked preset to all selected photos. If your version only changes the active photo, turn on Auto Sync first, or use the Library method.
- Lightroom desktop and mobile: apply the preset to one photo, then copy and paste its settings onto the others as described above. Recent versions also let you apply presets to a multi-photo selection directly.
The cloud-based apps have added import options over time, so check your version’s import settings if you want presets applied automatically there too. If you need presets on your phone first, see our guide to installing Lightroom presets on mobile.
Finishing the batch: the individual pass
Batch editing gets every photo about 80 percent of the way. The last pass is quick, but it matters.
- Step through each photo with the arrow keys.
- Adjust Exposure for the subject. Even photos in the same light drift a little between frames.
- Correct white balance where the light changed, such as when clouds rolled in.
- Crop and straighten individually.
- Add masks or spot removal only where needed.
Lightroom Classic has a Reference View in the Develop module (Shift+R in recent versions) that shows your reference photo next to the one you are editing. It makes matching color and brightness across a set much easier. For more on why the same edit lands differently on each frame, read why presets look different on every photo.
Common batch editing mistakes
- Syncing crop by accident. Suddenly every portrait is cropped like the one landscape you edited first. Untick Crop unless you mean it.
- Leaving Auto Sync on. Check the button label before you start editing a new photo.
- Wrong active photo. Sync copies from the active photo. If you selected a different one last, you will sync the wrong edit.
- Batch editing mixed light. Group first, then sync per group.
- No safety net. Before experimenting, you can make a virtual copy (Ctrl+’ or Cmd+’ in Classic) or rely on the History panel, which records every change.
Your next edit
Take your last shoot, split it into two or three lighting groups, and edit one reference photo per group. Sync the style, then do a quick individual pass for exposure and crop. Once you have a set that looks consistent, the next step is a consistent look across all your posts: read our guide to building a consistent Instagram feed with Lightroom.
FAQ
What is the difference between Sync and Auto Sync in Lightroom?
Sync copies settings from the active photo to the other selected photos once, after you choose which settings to include. Auto Sync applies every adjustment you make, as you make it, to all selected photos until you turn it off.
Can I batch edit in Lightroom mobile?
Yes. Copy settings from an edited photo, select several photos in the grid, and paste. Recent versions handle multi-photo paste directly from the grid; in older versions, you paste photo by photo in the editor.
Should I sync white balance across all photos?
Only when the light is the same, like a studio session or a quick burst. If the light changed between shots, sync everything else and set white balance per photo.
How do I undo a sync on many photos?
Press Ctrl+Z or Cmd+Z right away to undo the last sync. If it is too late for that, each photo’s History panel still holds its earlier states, or you can reset photos and sync again from the correct reference.
Keep reading

RAW vs JPEG for Lightroom Presets: Why RAW Wins
Why the same preset looks better on RAW than JPEG, and how to shoot RAW on your phone with Apple ProRAW or Android DNG.

Consistent Instagram Feed with Lightroom Presets: 7 Steps
One preset is not enough for a cohesive grid. Here is the 7-step Lightroom workflow that keeps every post the same brightness, warmth and palette.