How to Export, Back Up and Share Lightroom Presets
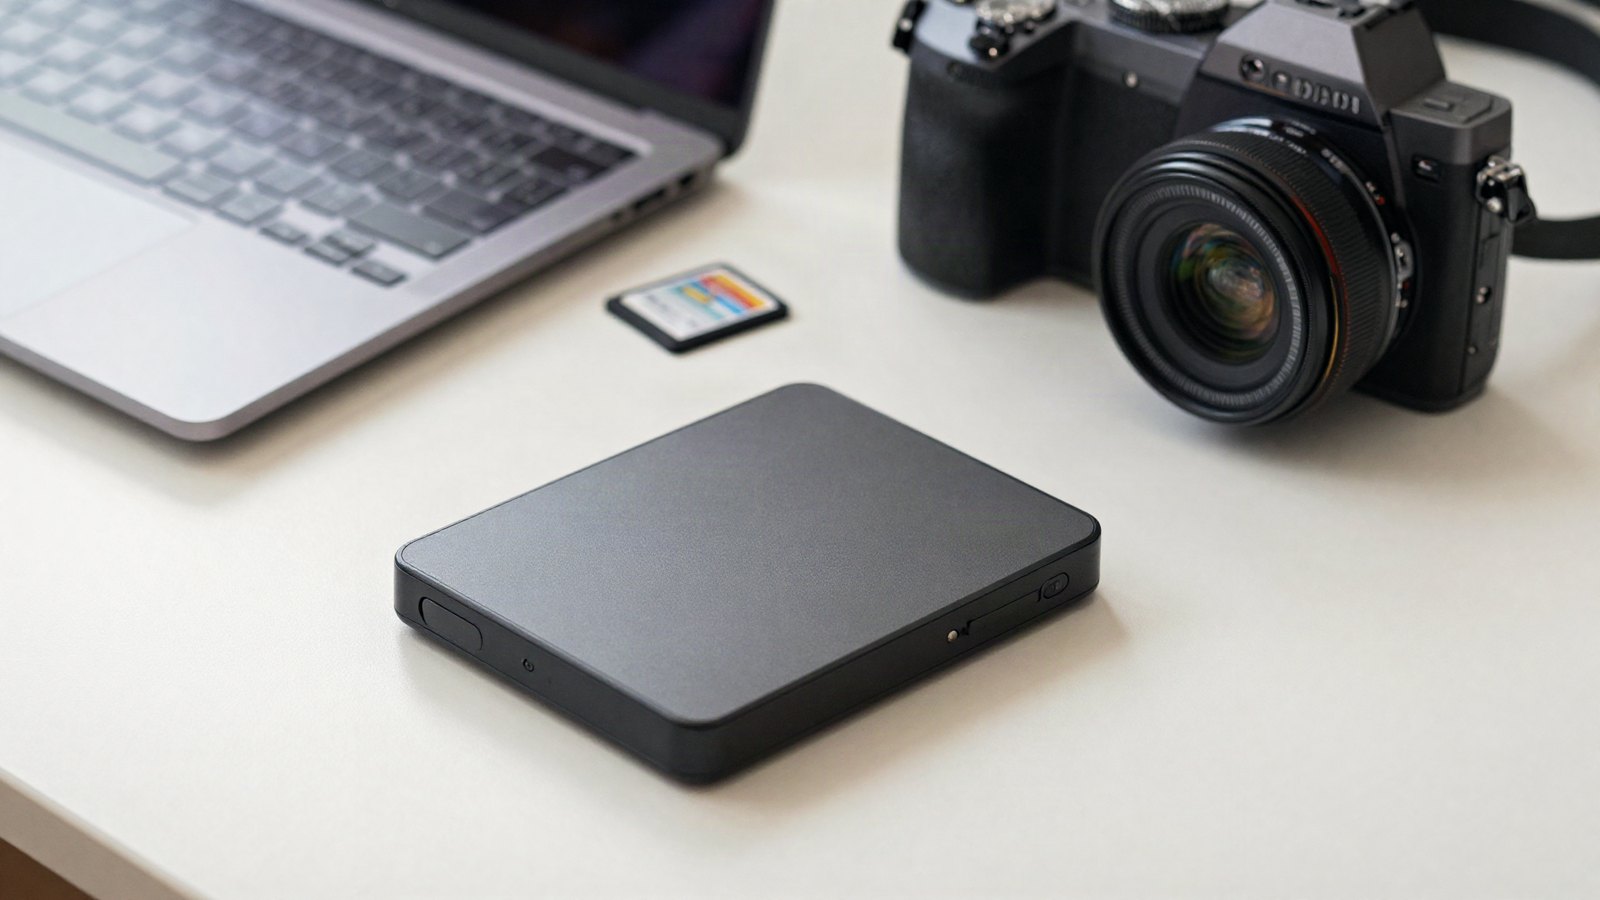
Where your presets live, how to export them as .xmp files, a simple backup routine, and how to share presets that work on other people’s photos.
Install presets, make your own and understand how Lightroom presets and profiles actually work.
Where your presets live, how to export them as .xmp files, a simple backup routine, and how to share presets that work on other people’s photos.

Add believable background blur in Lightroom: Blur Amount, bokeh shapes, Focal Range and refining the AI depth map.
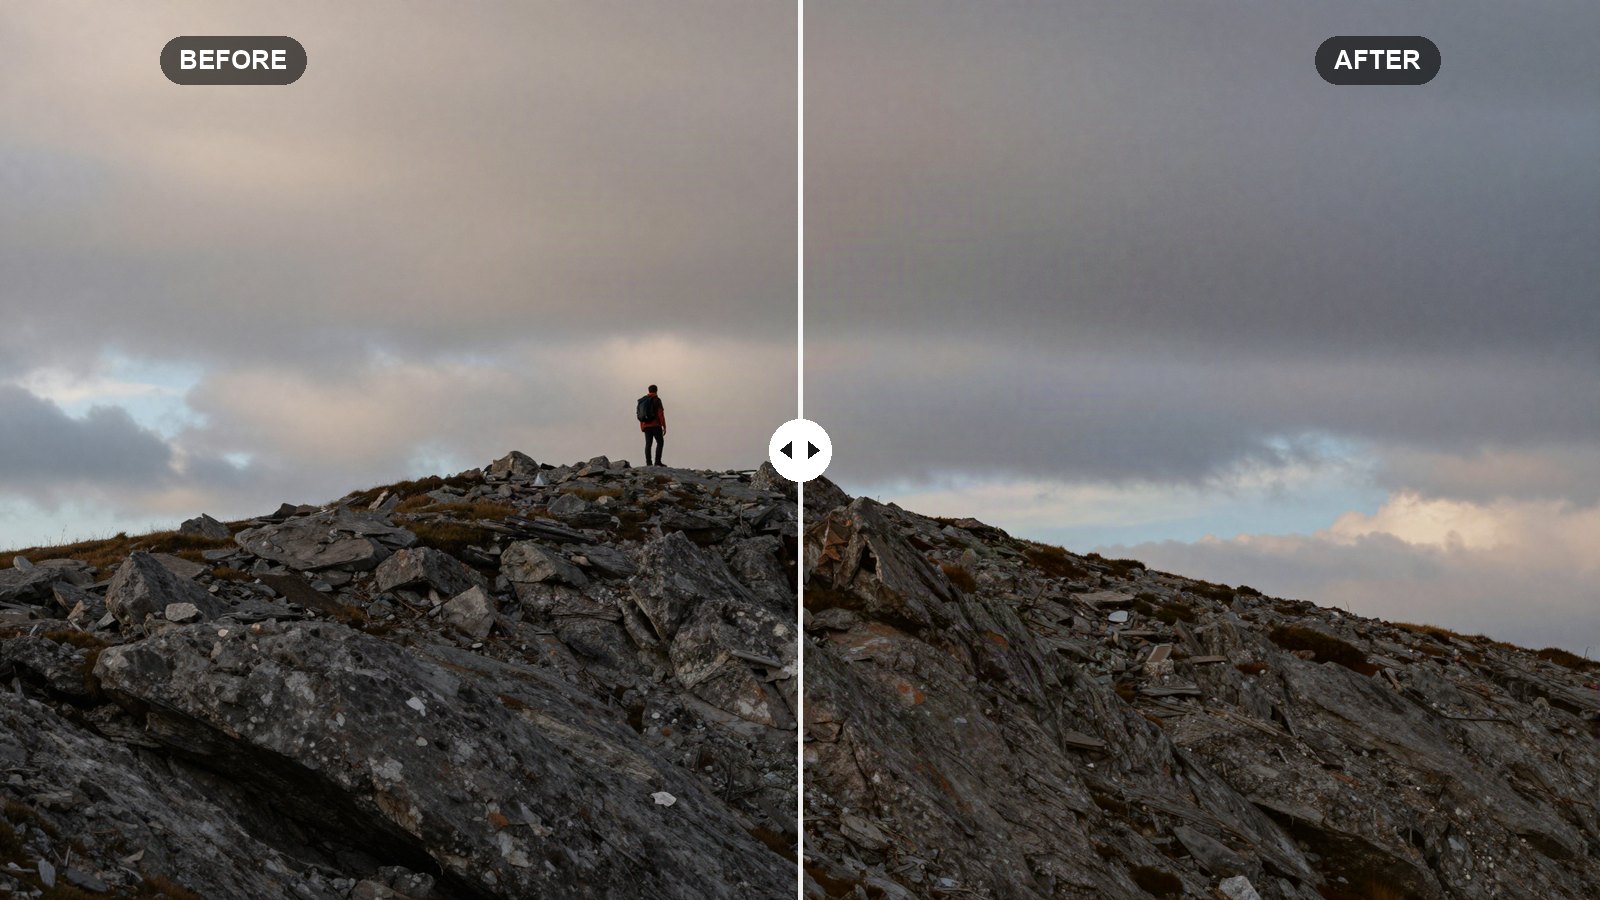
Adaptive presets use AI masks to edit only the subject, sky or skin. Here is how they work and how to combine them with your own presets.
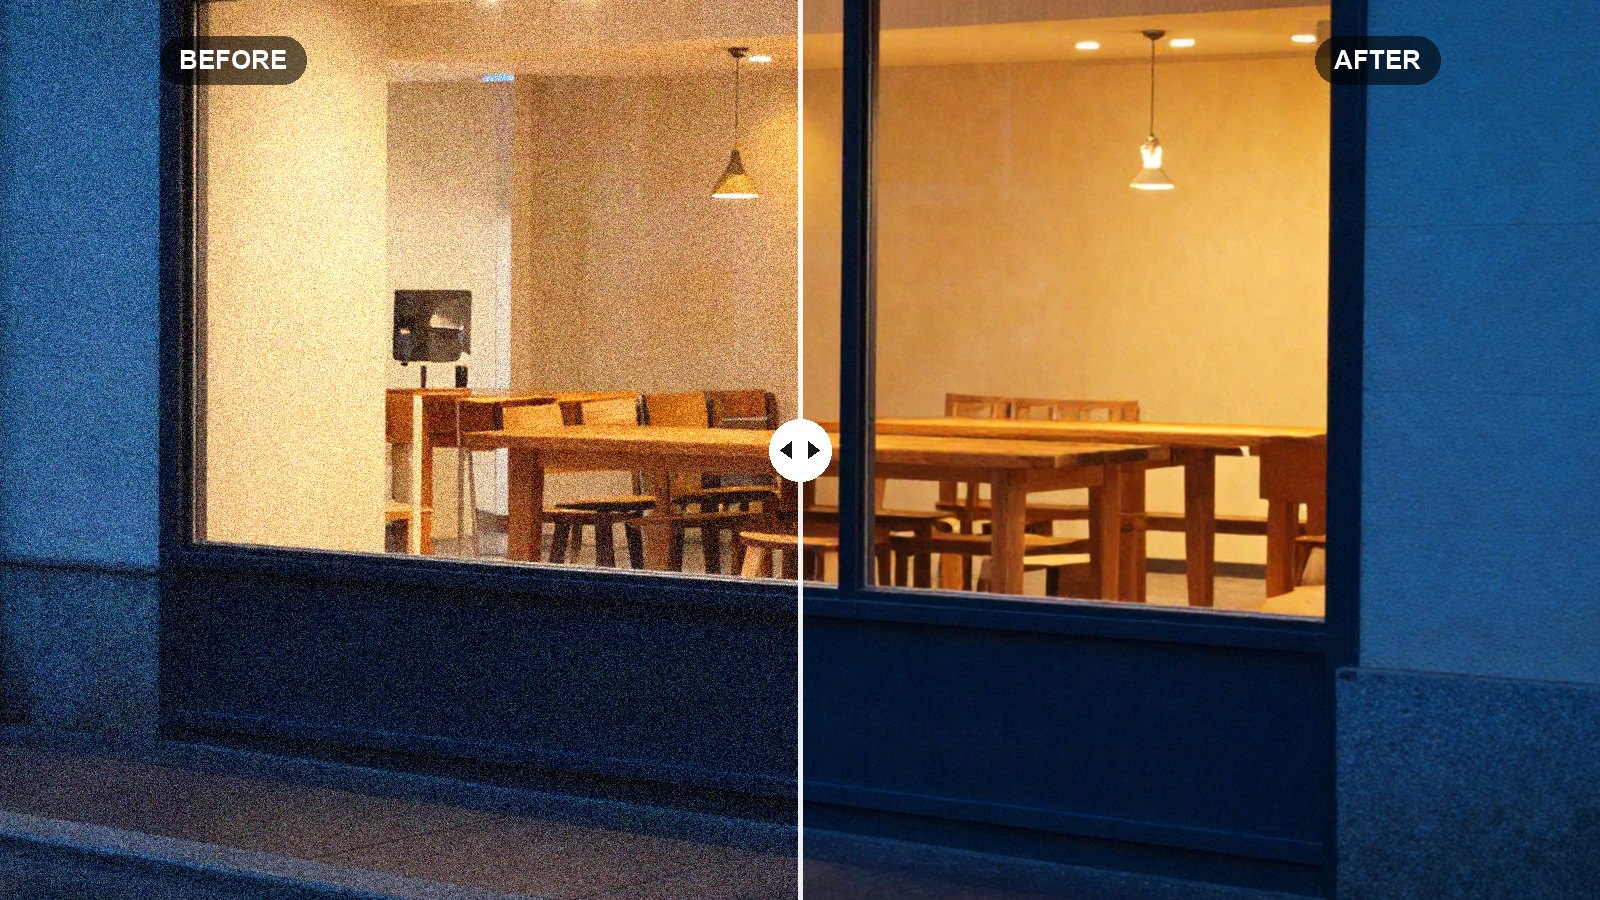
When to use AI Denoise, what Amount to pick, why it makes a new DNG, and when manual noise reduction is enough.
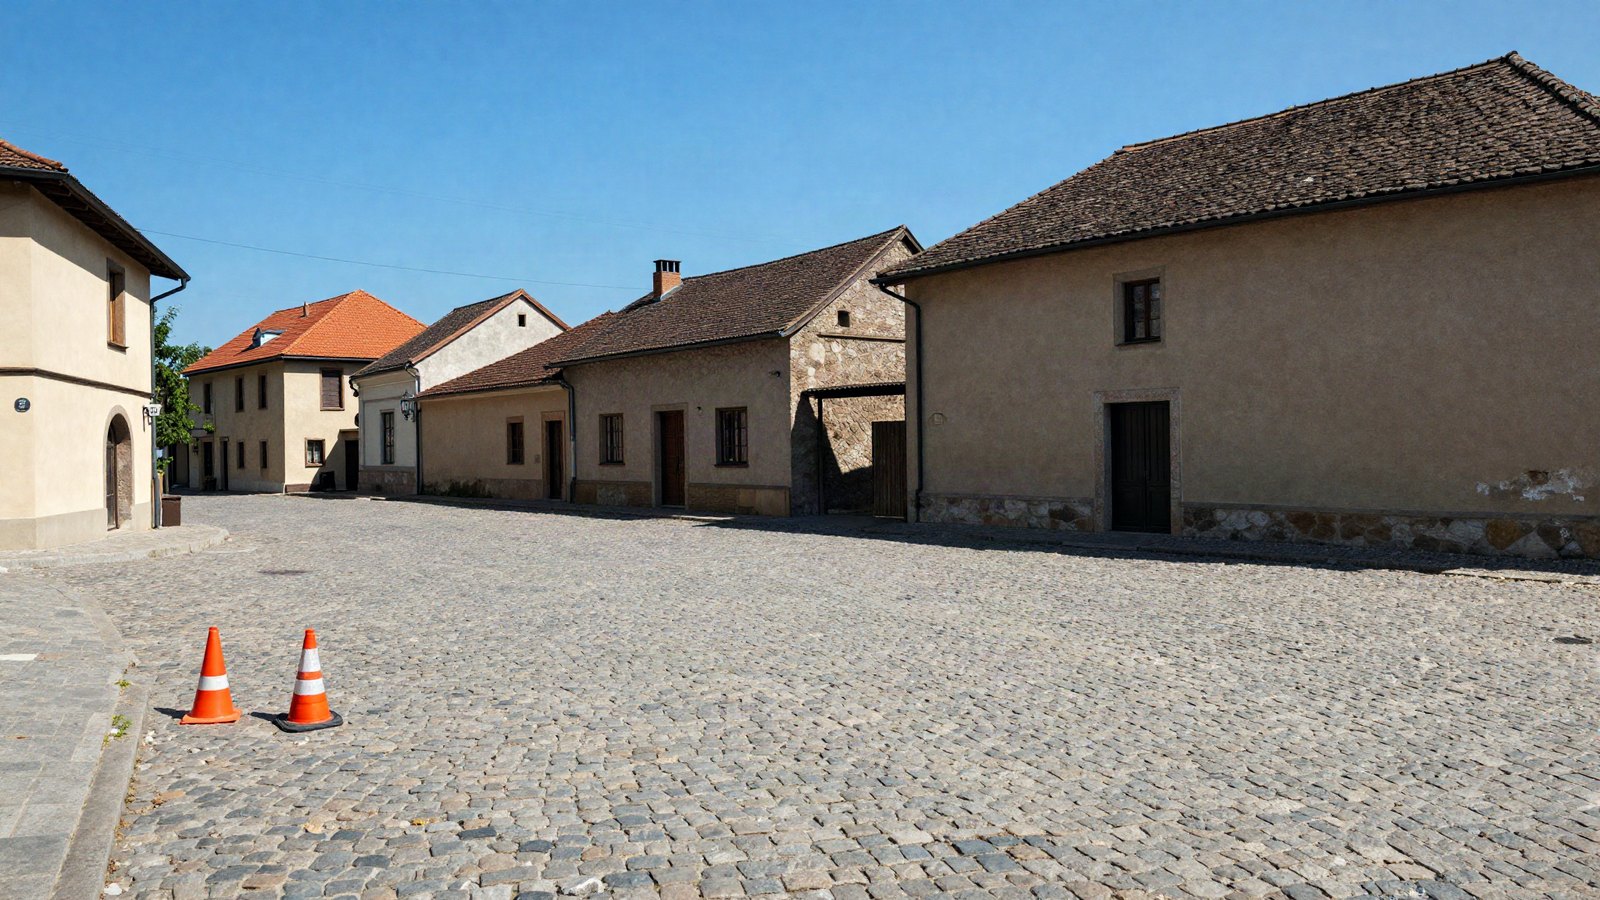
Content-Aware Remove, Heal, Clone or Generative Remove? Which mode to pick, the settings that matter, and fixing dust fast.
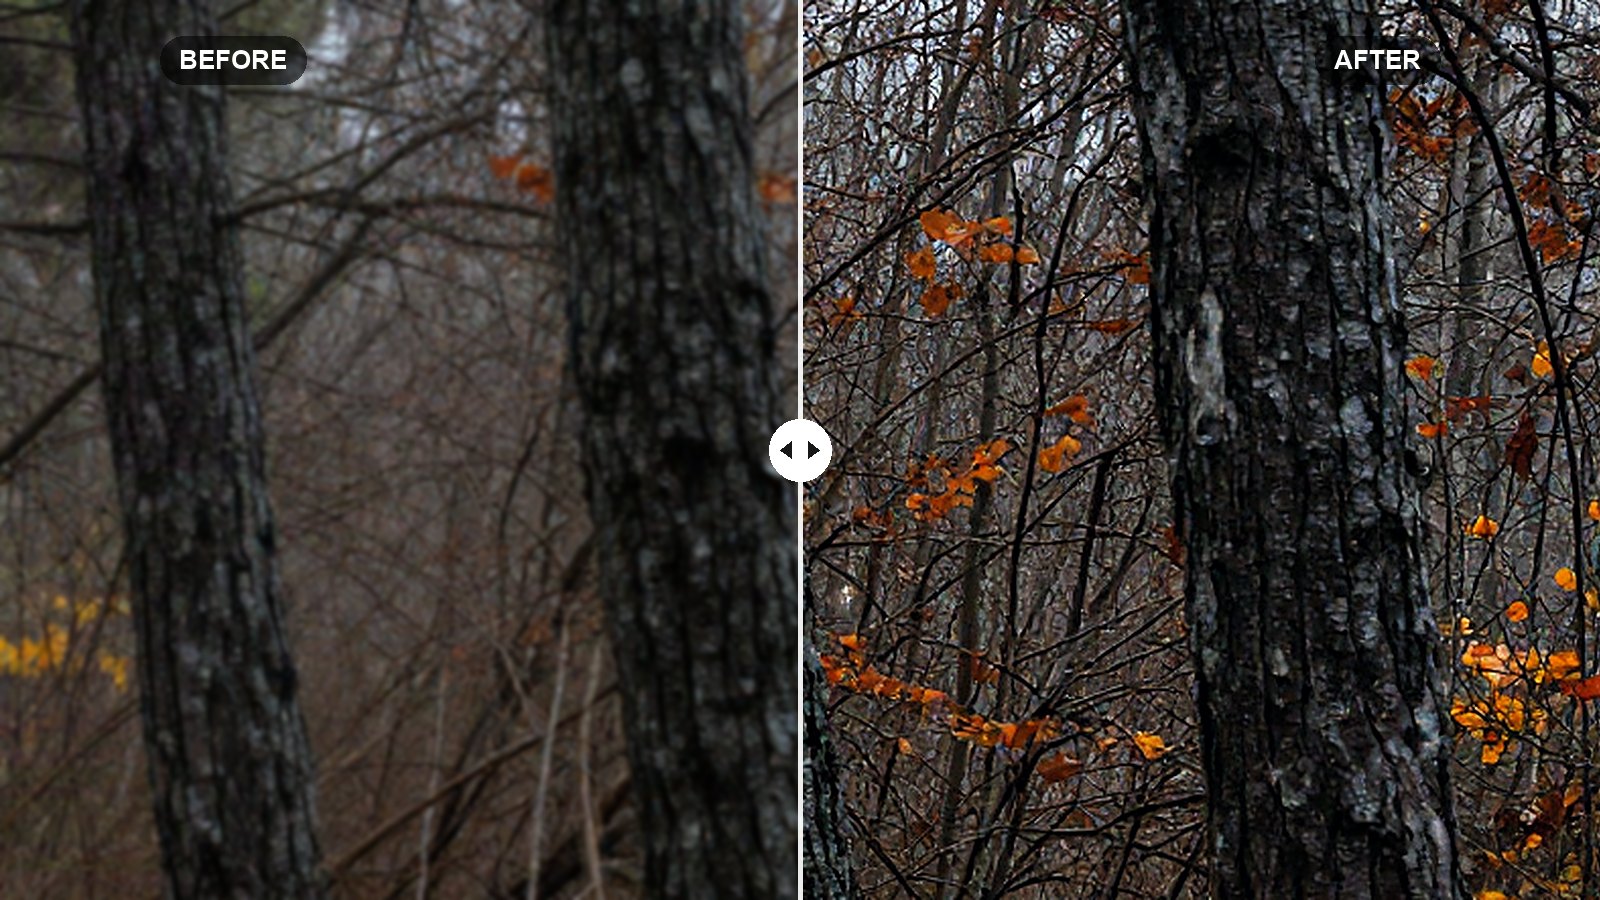
What each sharpening slider does, the Alt/Option preview that shows it, starting values for portraits and landscapes, and export sharpening.
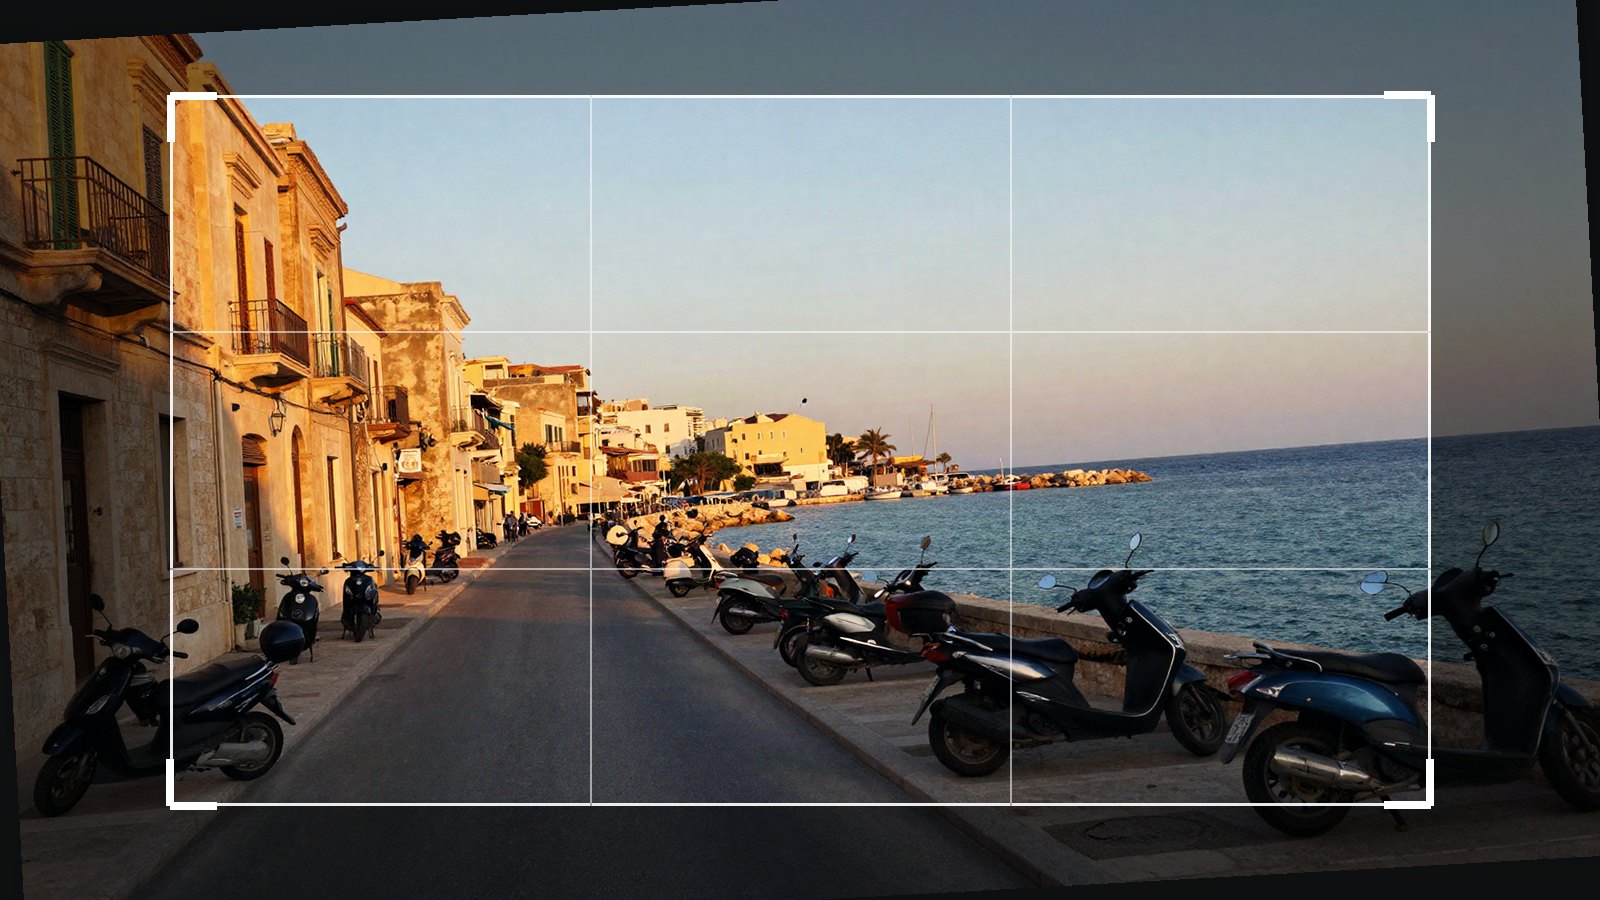
Level horizons, pick the right aspect ratio and fix leaning buildings with Upright and Guided Upright in Lightroom.
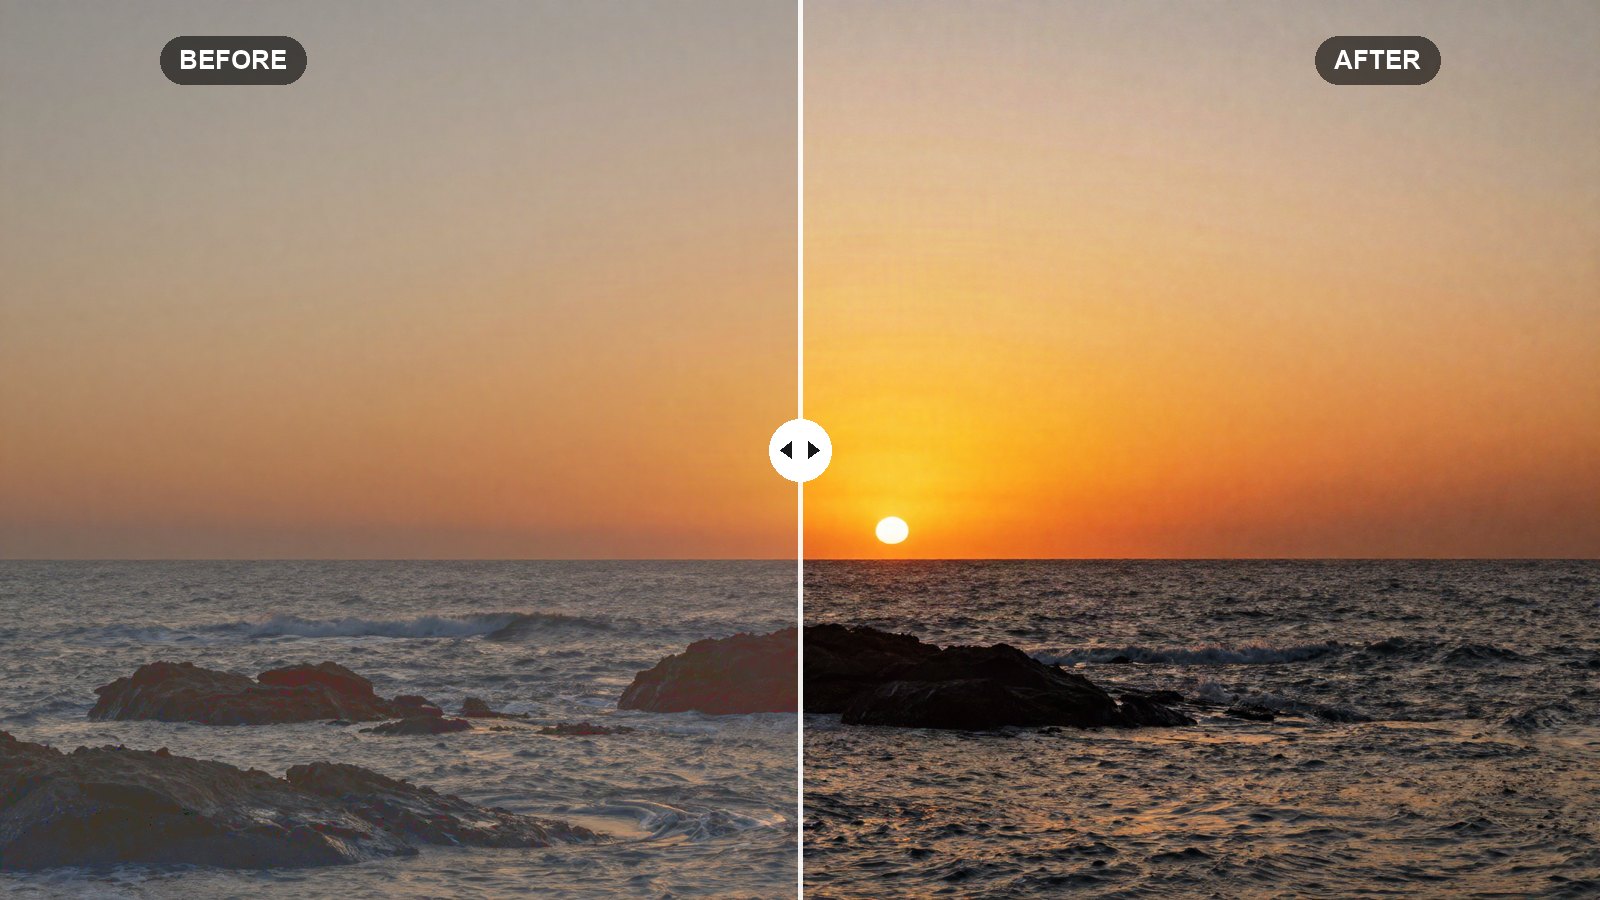
How Lightroom’s Tone Curve really works, with exact points for an S-curve, a matte fade and subtle RGB channel tints.
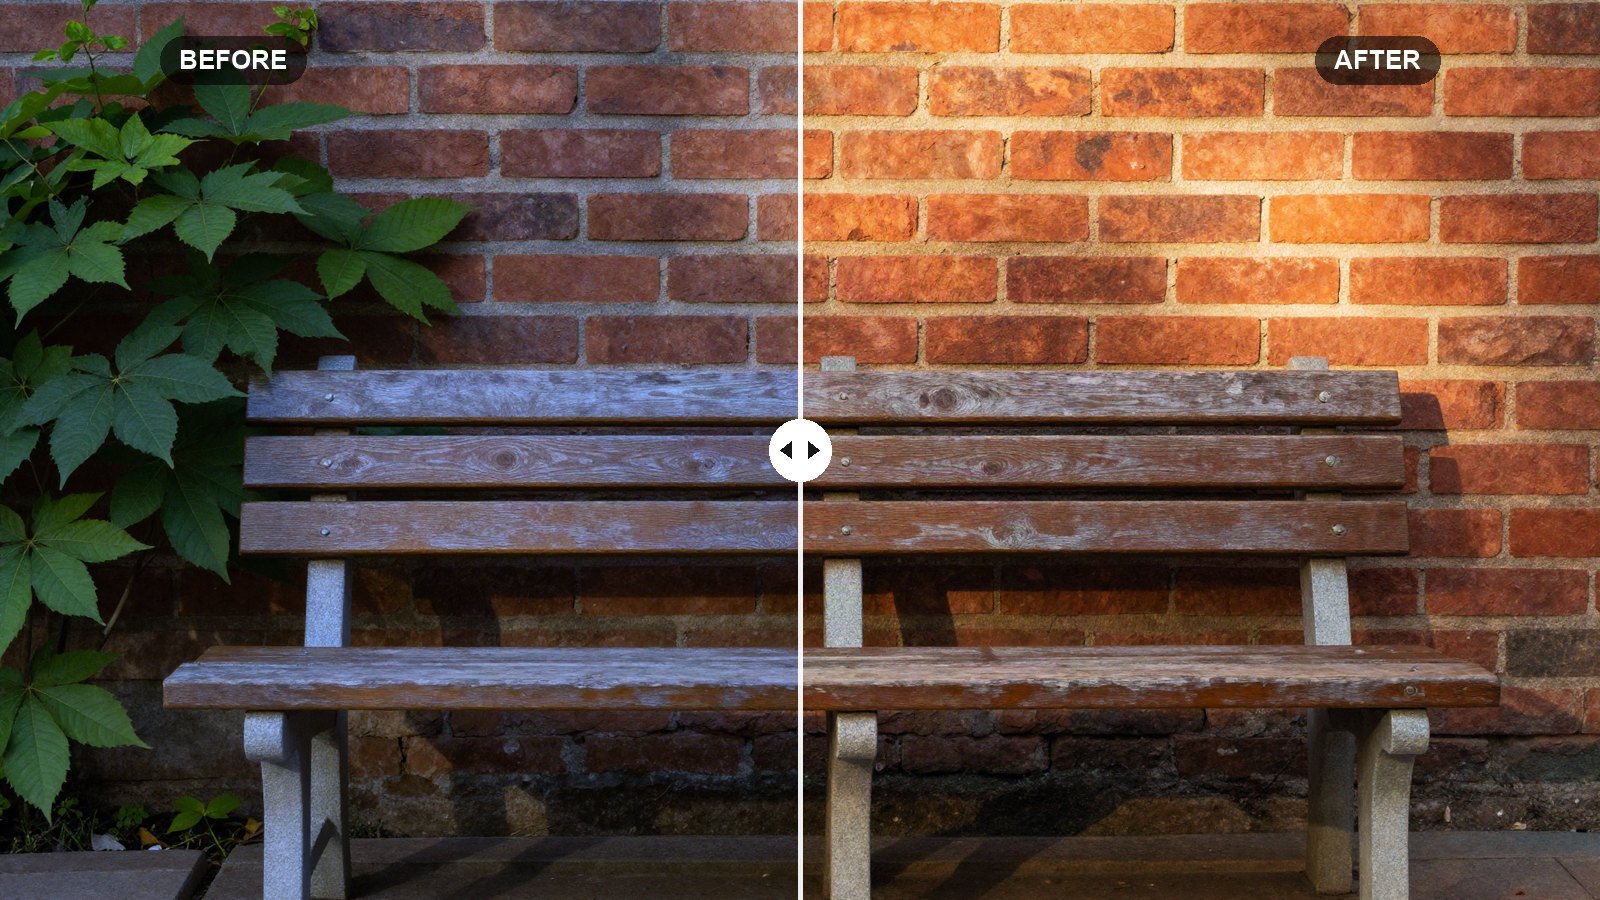
Fix color casts for good: Temp and Tint, the eyedropper, As Shot vs Auto, RAW vs JPEG, and masks for mixed light.
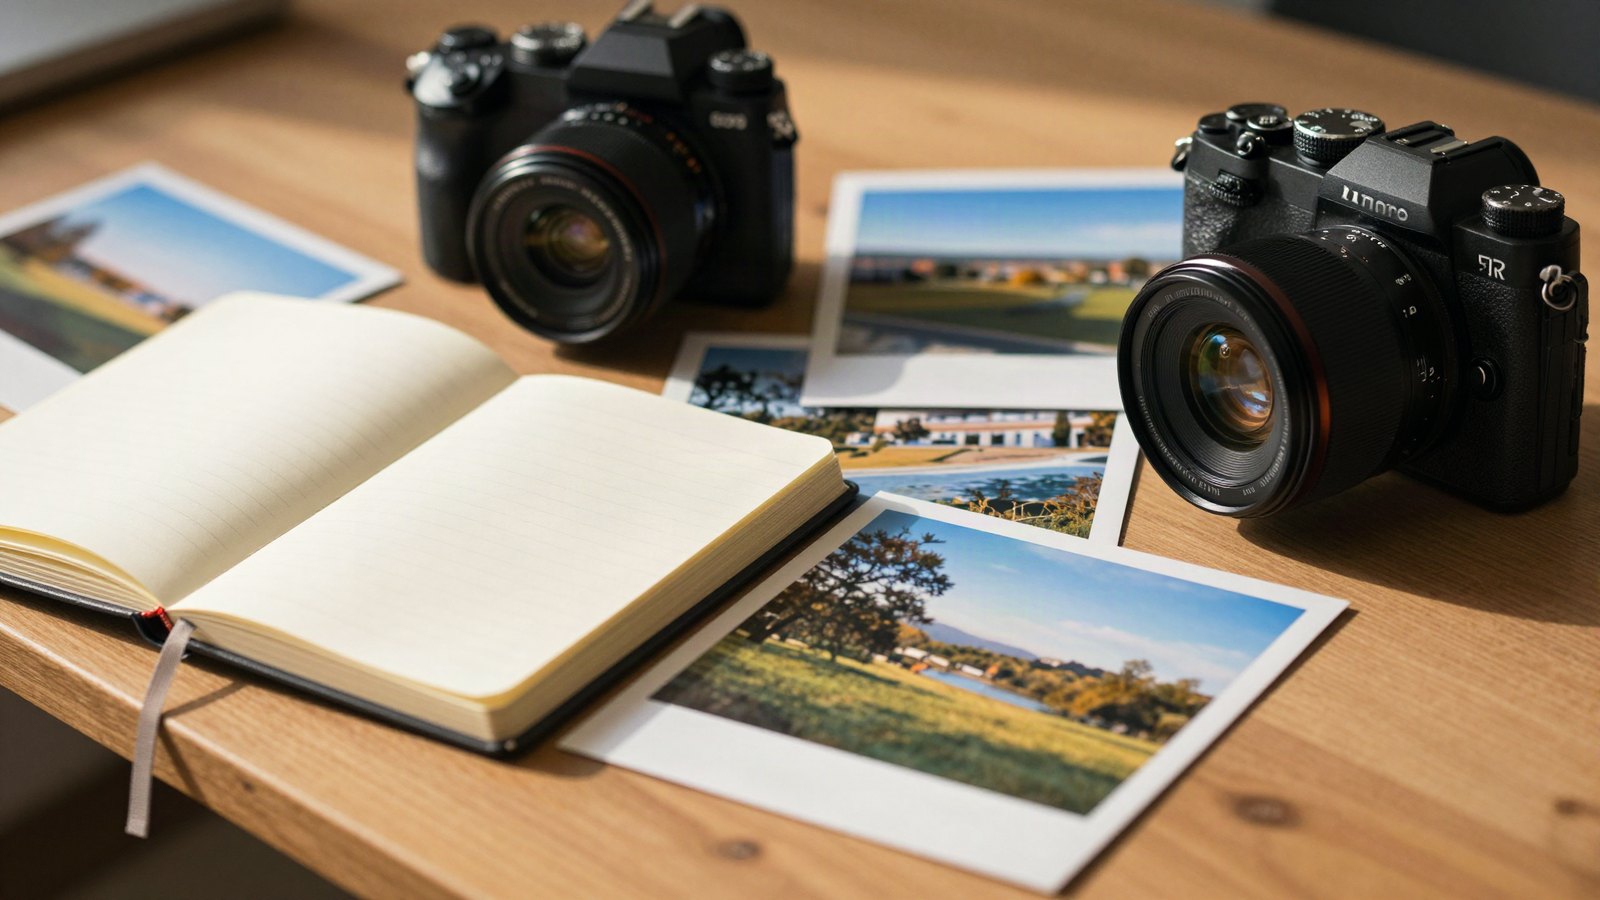
Save your own Lightroom presets, choose the right settings to include, and keep a growing collection organized and backed up.

A preset only moves sliders by fixed amounts. These six adjustments make it fit each photo’s light, exposure and colors.
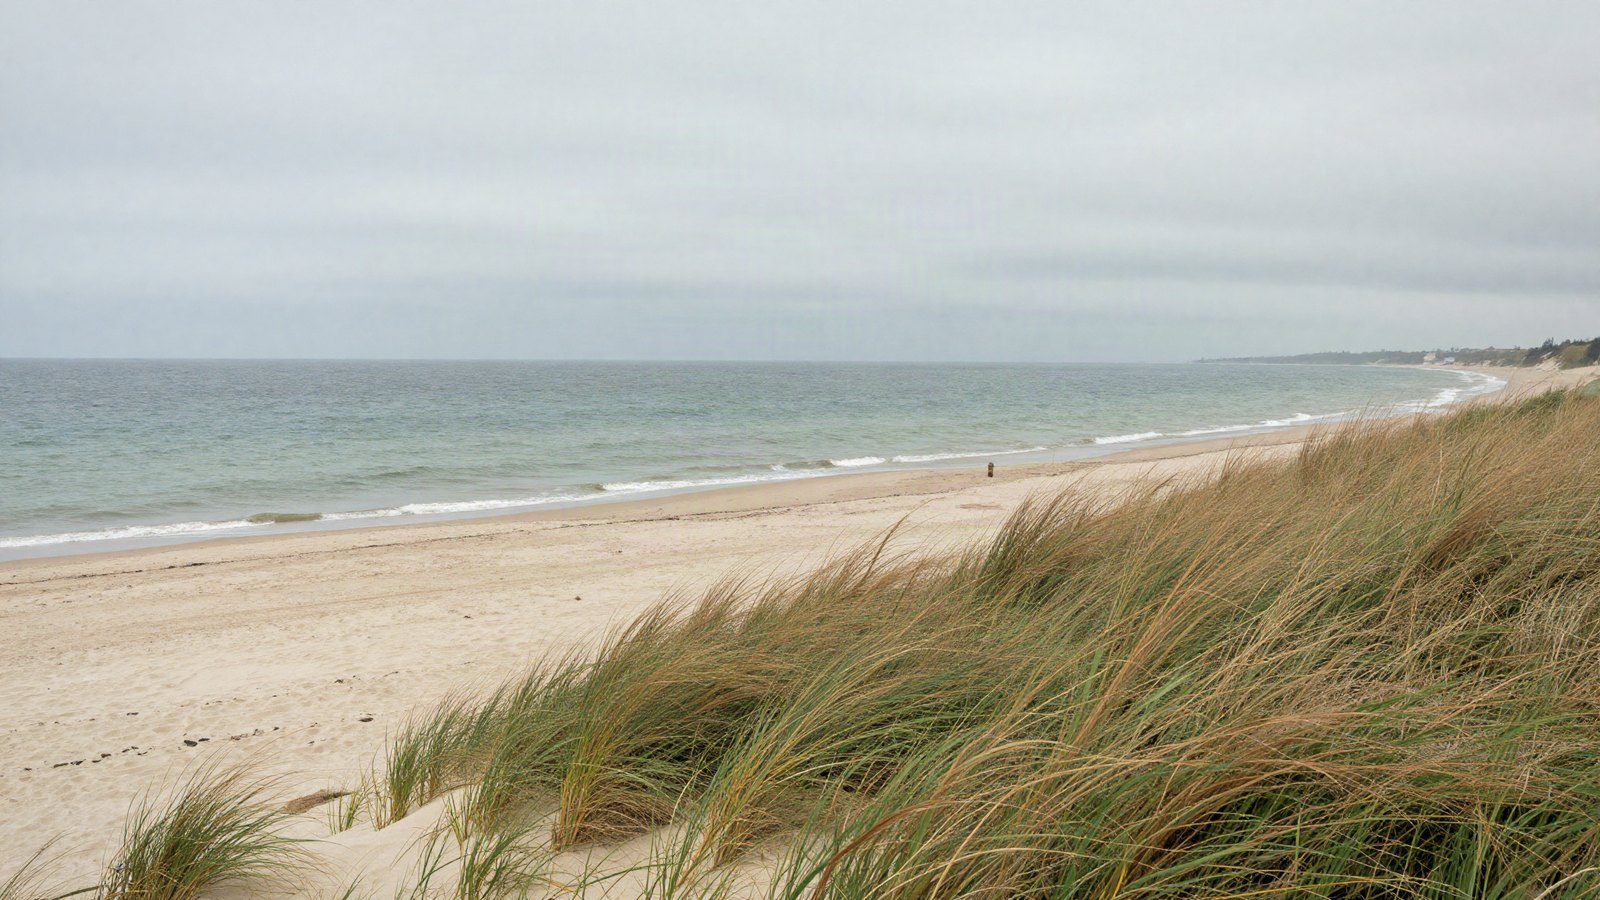
Profiles set how Lightroom renders your photo; presets move the sliders. Here is how they differ and how to use them together.