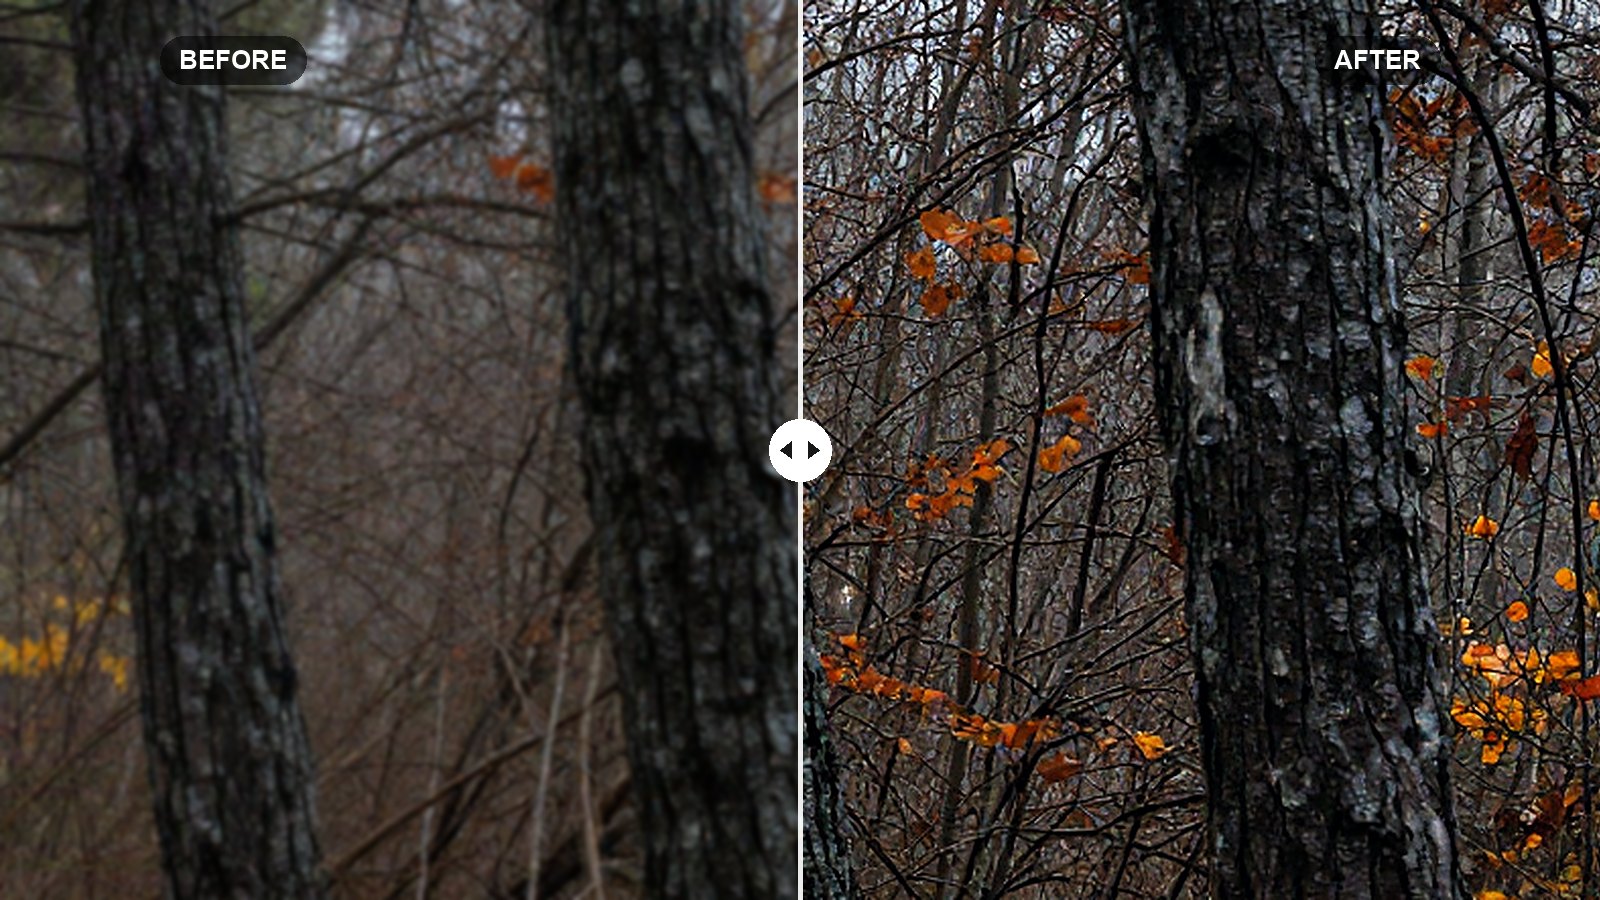
Most people treat sharpening as one slider: drag Amount up until the photo looks crisp, then stop. The result is usually crunchy skin, gritty skies and halos around every edge. Lightroom actually gives you four sharpening controls, and the two most people ignore, Detail and Masking, are what keep sharpening clean.
This Lightroom sharpening guide explains every slider in the Detail panel, the Alt/Option preview trick that shows you exactly what each one is doing, starting values for common photo types, and how export sharpening fits in.
Quick answer: In the Detail panel, set Amount for overall strength (40 to 70 for most raw files), Radius around 0.8 to 1.2, and Detail around 20 to 30. Then hold Alt (Option on Mac) while dragging Masking until only real edges show white. Masking keeps sharpening off smooth skin and skies.
On this page
Where the sharpening controls are
Sharpening lives in the Detail panel in every version of Lightroom:
- Lightroom Classic: Develop module, Detail panel, under the Sharpening heading. A small preview box at the top of the panel shows a 1:1 crop.
- Lightroom desktop: Edit panel, then Detail. Radius, Detail and Masking may sit under a small disclosure arrow next to Sharpening.
- Lightroom mobile: tap Detail in the bottom toolbar of the editor.
Always judge sharpening at 100% zoom (1:1). At fit-to-screen size, Lightroom scales the image down and you cannot see what sharpening is really doing. In Classic, press Z or click the photo to zoom. On mobile, pinch in or double-tap.
The four sharpening sliders explained
Amount
Amount controls how strong the sharpening is. It runs from 0 to 150. Raw files get a default of 40 in recent versions because raw data comes off the sensor slightly soft. JPEGs and HEICs default to 0, since the camera or phone already sharpened them.
Radius
Radius sets how far from each edge the sharpening reaches, from 0.5 to 3.0 pixels. The default is 1.0. Small radii suit fine detail like hair, fabric and leaves. Larger radii suit soft, broad subjects but quickly create visible halos. For most photos, stay between 0.8 and 1.3.
Detail
Detail decides how much sharpening goes into fine texture versus strong edges, from 0 to 100 (default 25). Low values mostly sharpen bold edges and suppress halos. High values bring out every bit of texture, including noise. Landscapes with lots of fine foliage can take 30 to 50. Portraits usually look better at 10 to 25.
Masking
Masking is the most useful slider of the four. It limits sharpening to edges and protects smooth areas. At 0, everything gets sharpened equally. As you raise it, flat areas like skin, sky and walls are excluded, and only well-defined edges keep their sharpening.
The Alt/Option preview trick
In Lightroom Classic, hold Alt (Windows) or Option (Mac) while dragging any sharpening slider and the photo switches to a grayscale preview of that slider’s effect. Recent versions of Lightroom desktop support the same preview on at least some sliders; if nothing changes when you hold the key, your version may not have it.
| Slider | What the preview shows | What to look for |
|---|---|---|
| Amount | A grayscale image with sharpening applied | Crisp edges with no gritty texture in flat areas |
| Radius | Edge outlines on gray | Thin outlines. Thick glowing ones mean halos. |
| Detail | Fine texture on gray | Texture that matches what you want to keep, not noise |
| Masking | A black and white mask | White on real edges, black on skin, sky and smooth surfaces |
The Masking preview is the one to use every time. Drag it up slowly. Start at 0 and the screen is fully white. As you go, smooth areas turn black. Stop when skin, sky and out-of-focus backgrounds are mostly black and eyes, hair, edges and texture you care about stay white.
Lightroom mobile has no modifier key, so zoom in on an area with both smooth tones and edges, such as a face against hair, and compare as you move Masking.
Tip: Set Masking before you finalize Amount. Once smooth areas are protected, you can usually push Amount 10 to 20 points higher without making skin or sky look rough.
Starting values by photo type
These are starting points for raw files, viewed at 100%. Adjust by eye, since sensor, lens and focus all change what a photo needs.
Portraits
| Setting | Value | Why |
|---|---|---|
| Amount | 50 | Enough for eyes and lashes without stressing skin. |
| Radius | 1.0 | A neutral radius that avoids halos on facial edges. |
| Detail | 15 | Keeps pores and fine skin texture from being exaggerated. |
| Masking | 70 | Protects skin so sharpening lands on eyes, hair and clothing. |
Landscapes
| Setting | Value | Why |
|---|---|---|
| Amount | 60 | Brings out rock, bark and foliage detail. |
| Radius | 0.9 | Small radius for lots of fine detail. |
| Detail | 35 | Favors texture, which landscapes are full of. |
| Masking | 30 | Keeps the sky smooth while leaving most of the land sharpened. |
Phone JPEGs and HEICs
| Setting | Value | Why |
|---|---|---|
| Amount | 15 | The phone already sharpened the file, so add very little. |
| Radius | 0.8 | Small radius to avoid doubling the phone’s own halos. |
| Detail | 15 | Phone files hide noise in fine texture; do not bring it out. |
| Masking | 50 | Keeps processed skies and skin from getting crunchy. |
If you shoot phone raw (DNG or ProRAW), use the raw values instead. Our post on RAW vs JPEG for presets explains why raw files handle this much better.
Sharpening and noise reduction
Sharpening and noise are tied together. Sharpening makes noise more visible, and noise reduction softens detail. On high-ISO photos, deal with noise first, then add sharpening, and raise Masking more than usual so smooth, noisy areas are excluded.
Recent versions of Lightroom include AI Denoise, found in the Detail panel (and under Enhance in some versions). It handles noise and fine detail together and often needs less extra sharpening afterward. Our Lightroom Denoise guide explains when to use it and when the manual Noise Reduction sliders are enough.
Local sharpening with masks
Global sharpening is a compromise. For more control, use a mask with the Sharpness slider, which runs from -100 to +100 inside any mask.
- Eyes: brush over the eyes, or use a People mask with Iris and Pupil selected where available, then add Sharpness +20 to +40.
- Backgrounds: select the background and set Sharpness to a negative value to soften distracting detail.
- Skin: a small negative Sharpness on a face skin mask can calm texture without the plastic look of heavy smoothing.
Export sharpening
Detail panel sharpening is capture sharpening. It restores the crispness lost in the camera. Export sharpening is a separate step that compensates for resizing and for the medium you output to.
In Lightroom Classic, the Export dialog (File > Export) has an Output Sharpening section. Tick Sharpen For, then choose Screen, Matte Paper or Glossy Paper, and an Amount of Low, Standard or High. For web and social, Screen and Standard is a sensible default. For prints, match the paper type.
Lightroom desktop and mobile have simpler export settings, and depending on version you may not get an output sharpening control at all. If you export small images from them, a slightly higher Amount in the Detail panel makes up for it.
Keep in mind that Instagram and other platforms recompress your uploads, which softens fine detail. Oversharpening to compensate usually makes things worse. Export at the platform’s recommended size so it does not have to resize much.
Common sharpening mistakes
- Judging at fit-to-screen size. Always check at 100%.
- Using Clarity or Texture as sharpening. Those are contrast tools. They change the look of a photo, not its edge definition, and stack badly with heavy sharpening.
- Leaving Masking at 0. This is the cause of most gritty skies and rough skin.
- Trying to fix missed focus. Sharpening can improve slight softness, not a blurry subject.
Your next edit
Open a portrait, zoom to 100%, and hold Alt or Option while you drag Masking until the skin turns black. That one habit will clean up more photos than any other sharpening change. Then put it to work on a full portrait edit with our guide to editing portraits with Lightroom presets.
FAQ
What are good sharpening settings in Lightroom?
For most raw files, Amount 40 to 70, Radius 0.8 to 1.2, Detail 20 to 30 and Masking 30 to 70 is a good range. Use higher Masking for portraits and lower Masking for detailed landscapes, and judge everything at 100% zoom.
Why is Lightroom sharpening set to 0 on my photo?
JPEG and HEIC files default to 0 because the camera or phone already sharpened them. Raw files get a default amount because raw data is unsharpened. You can still add a small amount to a JPEG if it needs it.
Should presets include sharpening?
Usually not. Sharpening depends on the camera, lens and file type, so a fixed value suits some photos and overdoes others. When saving a preset, leave Sharpening unchecked and set it per photo or per camera instead.
Does Lightroom mobile have sharpening?
Yes. Open the Detail panel to find Sharpening, Radius, Detail and Masking. There is no Alt or Option preview on a phone, so zoom in on the image while you adjust.
Keep reading
Why Lightroom Presets Look Different on Every Photo
A preset only moves sliders by fixed amounts. These six adjustments make it fit each photo's light, exposure and colors.
How to Export, Back Up and Share Lightroom Presets
Where your presets live, how to export them as .xmp files, a simple backup routine, and how to share presets that work on other people's photos.
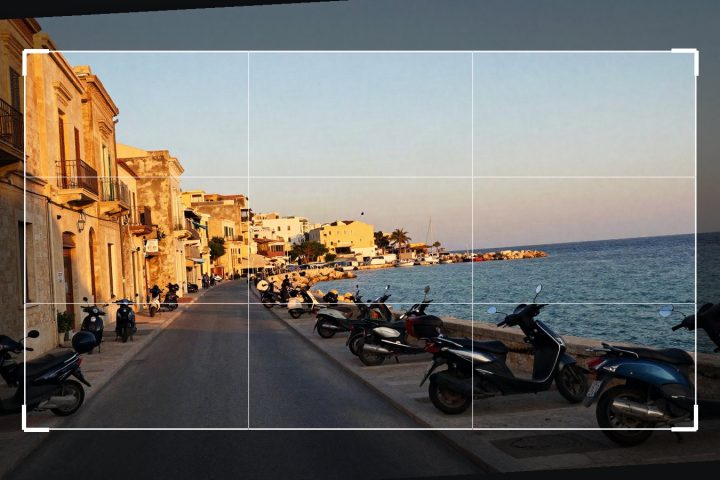
Lightroom Crop and Straighten Guide: Ratios, Upright, Guided
Level horizons, pick the right aspect ratio and fix leaning buildings with Upright and Guided Upright in Lightroom.