Presets that look gorgeous on landscapes often go wrong on faces. Skin turns orange or gray, texture gets crunchy, and eyes disappear into the shadows. People are very good at spotting unnatural skin, so a portrait has less room for error than any other kind of photo.
This guide shows how to edit portraits with Lightroom presets while keeping skin natural: how to choose the preset, fix skin color, use People masks and Adaptive: Portrait presets, soften skin without the plastic look, and finish the eyes and background.
Quick answer: Apply a soft, low-contrast preset, lower its Amount to 60-80, and set white balance from a neutral area, not the skin. Fix skin with Orange and Red in HSL, then use a Face Skin mask with Texture -15 and Clarity -5 for gentle softening. Brighten eyes slightly and darken the background.
On this page
- Choose a preset that suits portraits
- Step 1: Apply the preset and set the Amount
- Step 2: Set white balance from a neutral, not the skin
- Step 3: Fix skin color with HSL
- Step 4: Use People masks for skin, eyes and hair
- Step 5: Or start with Adaptive: Portrait presets
- Step 6: Separate subject and background
- Step 7: Keep the overall color natural
- Black and white portraits
- Your next edit
- FAQ
Choose a preset that suits portraits
The best portrait presets are gentle. Look for these qualities when previewing:
- Moderate contrast. Strong contrast deepens every line and shadow on a face.
- Low or negative Clarity and Texture. Positive values exaggerate pores and wrinkles.
- Careful orange and red. These hues are skin. A preset that pushes orange saturation hard will make faces look sunburned.
- Warm, low-saturation highlights in Color Grading. Skin sits mostly in the midtones and highlights, so a cool highlight tint can make it look sickly.
Our bright and airy recipe and our golden hour recipe are both built with skin in mind. Heavy orange and teal or strong matte looks can work for portraits too, but expect to do more correction.
Step 1: Apply the preset and set the Amount
Start from a reset photo, crop it, and apply your preset. Then lower the preset Amount to somewhere between 60 and 80. Portraits almost always look better with a lighter touch than the same preset needs on a landscape, and the Amount slider reduces everything at once without changing the character of the look.
Step 2: Set white balance from a neutral, not the skin
Do not click the white balance eyedropper on skin. Skin is not neutral, so Lightroom will cool the whole photo until the face looks gray. Click on a white shirt, a gray wall, or the white of an eye if nothing else is available, then adjust Temp and Tint by eye.
Check skin against something you know. Look at the lips, the palms of the hands or the neck. If they all look slightly too orange, the photo is too warm. If skin looks green-yellow, add a little magenta with Tint.
Step 3: Fix skin color with HSL
Most skin tones are made mostly of orange, with some red and a little yellow. Open HSL/Color in Lightroom Classic, or the Color Mixer in the Color panel in Lightroom desktop and mobile, and adjust Orange first.
| Setting | Value | Why |
|---|---|---|
| Orange Hue | -3 to +5 | Negative pushes skin toward red, positive toward yellow. Small moves only. |
| Orange Saturation | -5 to -15 | Calms the orange that most warm presets add to faces. |
| Orange Luminance | +5 to +10 | Brightens skin evenly and softens blotchy tones. |
| Red Saturation | -5 to -10 | Reduces redness on cheeks, noses and around eyes. |
| Yellow Saturation | -5 | Helps if skin has a jaundiced or green-yellow look. |
Use the Targeted Adjustment tool if you are unsure which hue to move. Click and drag directly on the cheek, and Lightroom adjusts the hues that are actually in that area.
Tip: Changing Orange affects everything orange in the photo, including wood, autumn leaves and sand. If the background shifts too much, make the skin fix inside a Face Skin mask instead of in global HSL.
Step 4: Use People masks for skin, eyes and hair
The People masking tools are what make modern portrait editing fast. Open the Masking tool. When Lightroom detects people in the photo, it lists them (for example Person 1, Person 2). Select a person and choose which parts to include. In recent versions, options include Face Skin, Body Skin, Eyebrows, Eye Sclera, Iris and Pupil, Lips, Teeth and Hair, and some versions add more; labels may differ slightly.
Pick one part per mask so you can adjust each separately. These are the masks we create on most portraits:
Face Skin and Body Skin: gentle softening
| Setting | Value | Why |
|---|---|---|
| Texture | -15 | Softens fine skin texture while keeping pores visible. |
| Clarity | -5 | Smooths blotchiness slightly without blurring features. |
| Exposure | +0.10 | Lifts the face just above its surroundings. |
Stay below Texture -30 and Clarity -20. Beyond that, skin starts to look waxy, especially on phone screens. Skin texture is what makes a face look real.
Iris and Pupil: clear eyes
Add Exposure +0.15 to +0.30 and Saturation +5 to +10. Raise Clarity slightly if your version shows it in the mask, or add Sharpness +20. Keep it subtle: eyes that glow look edited at first glance.
Eye Sclera and Teeth: whiter, not white
For both, lower Saturation by 10 to 20 to remove yellow or red, and add a small Exposure boost of +0.05 to +0.15. Pushing them pure white looks artificial fast.
Hair: shine and detail
Texture +10 and Clarity +5 on the hair mask brings back detail that skin softening and low-contrast presets can flatten.
Step 5: Or start with Adaptive: Portrait presets
Recent versions of Lightroom include an Adaptive: Portrait preset group. These presets create People masks for you with adjustments already set, for example to smooth skin, brighten eyes or enhance hair. Apply one after your main look preset, then lower its Amount to around 40 to 60. Open the Masking panel to see which masks it created and fine-tune them. Our adaptive presets guide explains how they stack with your own presets.
Step 6: Separate subject and background
A darker, softer background makes any portrait feel more polished. Create a Background mask (or a Subject mask, then Invert), and try:
- Exposure -0.20 to -0.40 to draw the eye to the face.
- Clarity -10 to soften busy detail.
- Saturation -10 if a bright color behind the person competes with skin.
In recent versions you can also use Lens Blur for a shallower depth-of-field look, but use it lightly. Strong blur is easy to spot around hair.
Step 7: Keep the overall color natural
After all the local work, step back and look at the whole photo at normal size. A few checks:
- Compare with the original. Press the backslash key (\) in Classic or Lightroom desktop, or press and hold the photo on mobile. Skin should look like a better version of the original, not a different color.
- Check Color Grading. If the preset puts teal or green into highlights or midtones, lower that wheel’s saturation until skin looks healthy.
- Try Calibration in Classic. Small moves to the Red Primary Hue and Saturation sliders can fine-tune skin across the whole image. This panel is not in every version of Lightroom desktop and mobile.
- Look at it on your phone. Most portraits are seen on phones, which often show warmer and more saturated color than a calibrated monitor.
Black and white portraits
When skin color will not cooperate, black and white is a strong option, not a rescue. In a B&W conversion, the Orange slider in the B&W mix controls skin brightness. Raise it for lighter, smoother-looking skin, or lower it for a moodier, more textured face. Our black and white preset settings include a mix built with portraits in mind.
Your next edit
Pick a portrait that went orange with your favorite preset. Lower the Amount, reset white balance from a neutral area, and add one Face Skin mask with Texture -15. That alone will fix most of it. When you are ready to try a warmer look, start with our golden hour preset settings and follow the same steps.
FAQ
How do I stop presets from making skin orange?
Set white balance from a neutral area, lower the preset Amount, then reduce Orange Saturation by 5 to 15 in HSL or the Color Mixer. If the preset warms the highlights in Color Grading, lower that wheel’s saturation too.
How do I smooth skin in Lightroom without it looking fake?
Use a Face Skin mask with Texture around -15 and Clarity around -5. Keep Texture above -30. Small negative values reduce blemishes and texture while leaving pores visible, which keeps the face looking real.
Can I save my portrait masks as a preset?
Yes. Save a preset with Masking included, and Lightroom recomputes the People masks on each new photo. Check that it found the right person and parts, especially in group photos.
What is the best preset style for portraits?
Soft contrast, gentle warmth and controlled orange saturation suit most faces. Bright and airy and golden hour styles are forgiving. Strong teal, heavy Clarity and crushed blacks need more correction on skin.
Keep reading
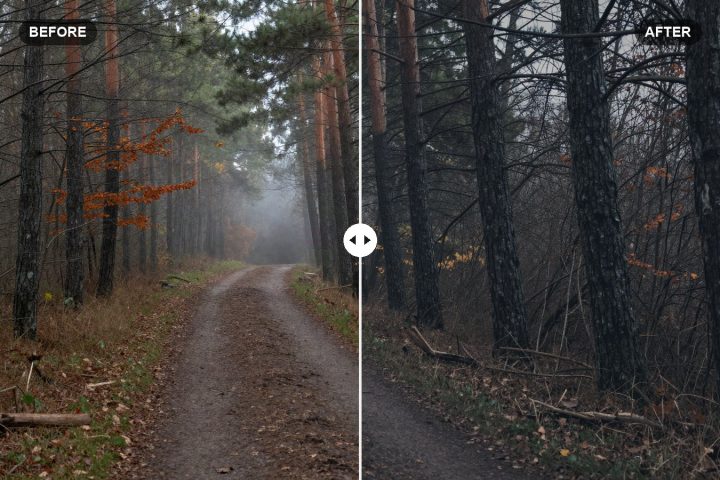
Moody Lightroom Preset Settings: Dark Recipe to Copy
Exact slider values for a dark, muted, moody look in Lightroom, with the reasoning behind each setting and how to adapt it to your own photos.
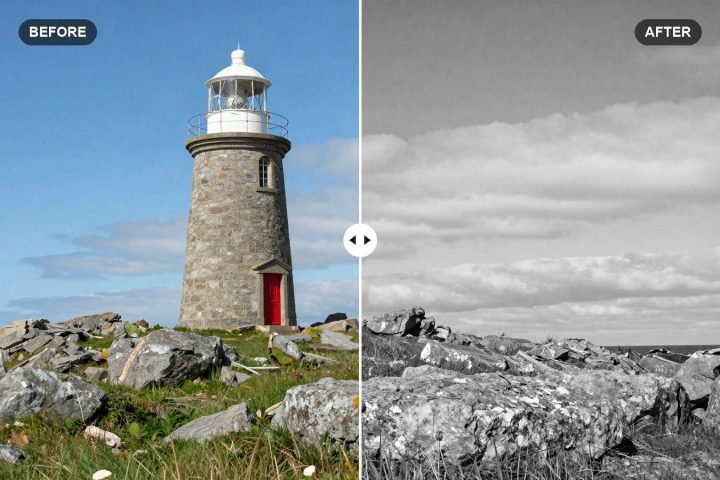
Black and White Lightroom Preset Settings: Rich B&W Recipe
Our rich black and white Lightroom recipe, with exact tone, curve and B&W Mix values that turn colors into strong, separated shades of gray.
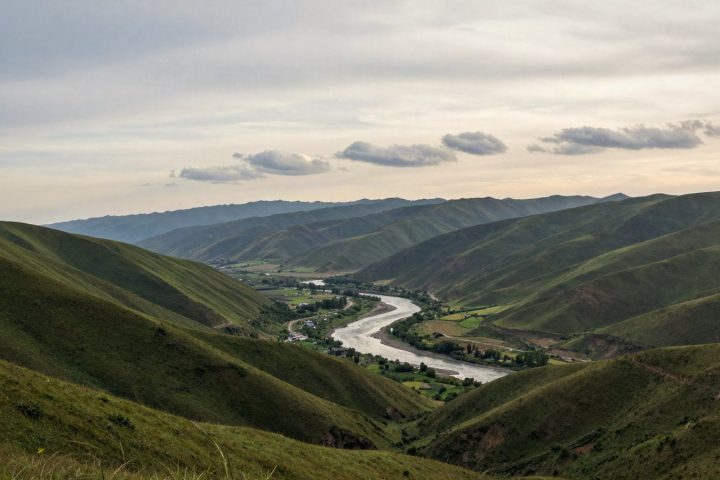
Edit Landscape Photos with Lightroom Presets: Skies and Greens
Apply a landscape preset, then fix what it can't: a washed-out sky, neon greens and flat haze, with starting values for each.