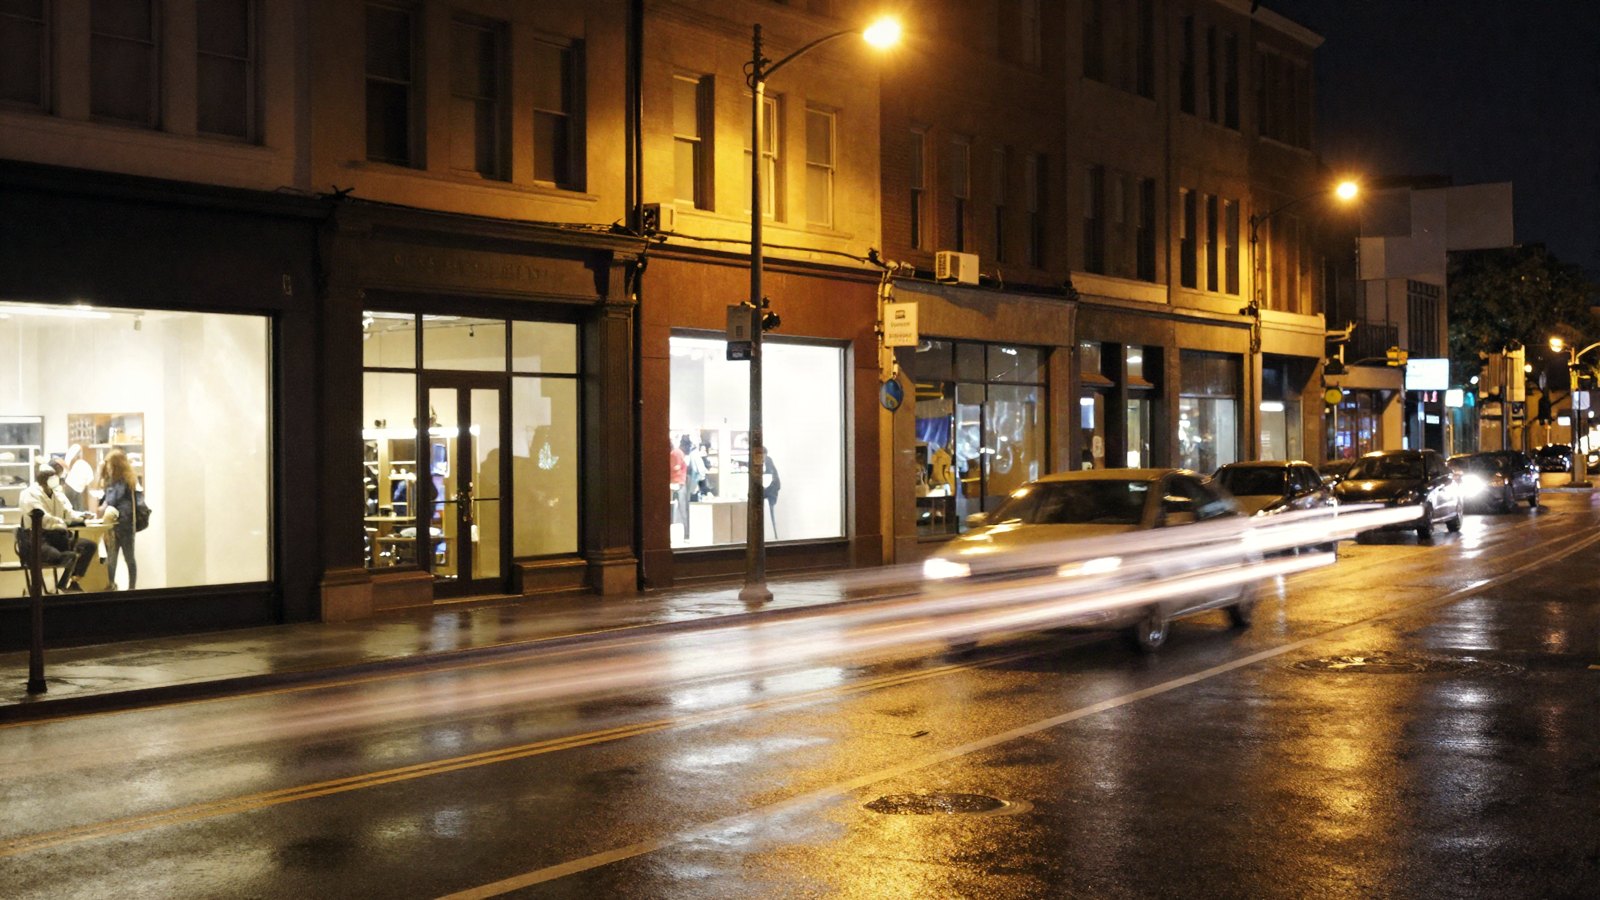
Most presets are built on daylight photos. Put one on a city street at night and it tends to do three bad things at once: it lifts the shadows into a sea of noise, it blows out every streetlight, and it turns mixed orange and blue light into a muddy mess. The look you wanted is still in there, but the photo needs a different order of work.
This guide covers how to edit night photos with Lightroom presets: cleaning up noise first, protecting the highlights, handling mixed color temperatures, and choosing presets that actually suit the dark. The steps apply to Lightroom Classic, Lightroom desktop and Lightroom mobile, with the differences noted.
Quick answer: Remove noise first with Denoise or Noise Reduction, then apply your preset at a lower Amount. Set white balance for the main light source, pull Highlights and Whites down to save the streetlights, keep the Blacks deep, and use masks to fix areas lit by a different color. Avoid presets that lift shadows heavily.
On this page
Why daylight presets fail at night
A night photo is mostly shadow with a few very bright points. That is the opposite of the evenly lit frame most presets were designed on. Three settings cause most of the trouble:
- Shadows and Blacks: presets often lift these for an airy or matte look. At night, that drags hidden noise and murky gray into the dark areas.
- Clarity and Texture: these sharpen fine detail, and at high ISO the finest detail is noise.
- White balance: a preset with a baked-in Temp value assumes one kind of light. City streets have several.
Our guide to why presets look different on every photo covers the general problem. Night shots are the extreme case, so it pays to choose your presets with that in mind.
Step 1: Clean up noise before the preset
Do noise reduction first. Denoising after a preset has lifted the shadows means the AI or the sliders are working on exaggerated noise, and you will judge the look on a dirty image.
AI Denoise: recent versions include an AI-based Denoise for raw files. In Lightroom Classic it is in the Detail panel (older releases put it under Photo > Enhance). In Lightroom desktop and mobile it is in the Detail panel, and the exact label and placement may differ slightly by version. Start with the default strength, around 50, and zoom to 100% to check. In many versions Denoise creates a new enhanced DNG file next to your original, so expect an extra file and some processing time.
Manual Noise Reduction: if Denoise is not available, or you are editing a JPEG, use the Noise Reduction sliders. Luminance 20 to 40 smooths grain, and Color noise reduction around 25 removes colored speckles. Push Luminance higher and skin and walls start to look waxy. Our Lightroom Denoise guide compares both approaches.
Step 2: Apply the preset gently
Now apply your preset. Recent versions show an Amount slider for the applied preset. For night shots we usually set it between 50 and 80, since even a good preset is tuned for more light than you have.
Presets that suit night photos tend to share a few traits:
- They keep Blacks at 0 or negative instead of lifting them.
- They pull Highlights down rather than pushing contrast.
- They use Color Grading for mood (cool shadows, warm highlights) instead of a fixed Temp.
- They leave Clarity low, roughly +10 or less.
Moody and cinematic looks usually translate well. A moody dark preset is a good starting point for night streets, as long as you keep its shadow lift modest.
Step 3: Set white balance for the main light
You cannot make every light source neutral in a city scene, and you should not try. Pick the light that matters most and balance for it.
- Find the main light. It is usually whatever lights your subject: a shop window, a streetlight, a neon sign.
- Use the eyedropper on something that should be neutral in that light, such as a white wall or gray pavement. Then fine-tune Temp by eye.
- Leave some warmth. Night scenes that are fully neutral look flat. Most city shots look right with streetlights still slightly warm and the sky a cool blue.
Raw files give you full control over Temp and Tint. JPEGs and phone night-mode shots have white balance baked in, so the sliders move in smaller relative steps and large corrections fall apart faster.
Key takeaway: At night, white balance is a creative choice, not a correction. Balance for one light, then decide how warm or cool everything else should be.
Step 4: Protect the highlights
Streetlights, headlights and signs are tiny, bright and easy to clip. Once they turn into flat white blobs, they look cheap. Pull them back before adding any contrast.
| Setting | Value | Why |
|---|---|---|
| Exposure | -0.3 to +0.5 | Set for the overall scene. Do not brighten a night photo to look like day. |
| Highlights | -50 to -90 | Brings detail back into signs, windows and lamps. |
| Whites | -10 to -30 | Stops the brightest points from clipping. |
| Shadows | +5 to +25 | Opens up detail a little without exposing noise. |
| Blacks | -5 to -20 | Keeps the night dark and hides residual noise. |
| Dehaze | 0 to +10 | Cuts the glow around lights in damp air. Too much darkens the sky to black. |
Hold Alt (Windows) or Option (Mac) while dragging Whites in Classic or desktop to see which areas are clipping. A few specks on the light bulbs themselves are fine. Large clipped areas in signs or windows are not.
Step 5: Fix mixed color temperatures with masks
Typical city scenes mix warm sodium or tungsten streetlights, cooler LED and fluorescent light, colorful neon and a blue sky at dusk. After setting a global white balance, use masks to correct the areas that still look wrong.
- Too orange in one area: add a Brush or Radial Gradient mask over it and lower Temp by 10 to 20.
- Green cast from fluorescent tubes: mask the area and move Tint toward magenta by 5 to 15.
- Dull sky at blue hour: use Select Sky and lower Temp slightly to deepen the blue.
- Neon too intense: lower Saturation for Red, Magenta or Purple in HSL/Color (Classic) or the Color Mixer (desktop and mobile), or mask the sign and lower Saturation there.
The HSL route is quicker, but it affects every pixel of that hue. If a red sign and a red car both matter, use a mask on the sign instead. Our white balance guide goes further into mixed light.
Step 6: Finish without bringing the noise back
Sharpening can undo your noise reduction. In the Detail panel, keep Sharpening Amount moderate and raise Masking to 50 or higher, so sharpening lands on edges such as signs and windows, not on flat sky. Hold Alt or Option while dragging Masking in Classic (and in Lightroom desktop in most recent versions) to see which areas will be sharpened.
A light vignette, around -10 to -15, helps keep attention on the lit parts of the frame. Skip grain on high-ISO shots; real noise plus fake grain rarely looks intentional.
Finally, check the photo at a lower screen brightness. Night edits often look fine on a bright monitor and murky on a phone in a dim room. If the shadows disappear completely, lift Shadows a few points.
Your next edit
Take a recent night photo and redo it in this order: noise, preset at 50-80 Amount, white balance for the main light, highlights, then masks. Once you find values that work for your city at night, save them as your own preset without white balance and exposure. To learn how far you can push a dark raw file before it falls apart, read RAW vs JPEG for presets next.
FAQ
Should I denoise before or after applying a preset?
Before. Denoising first lets you judge the preset on a clean image, and it avoids running AI noise reduction on shadows the preset has already lifted and exaggerated.
Why do streetlights look like white blobs in my edit?
The highlights are clipped. Pull Highlights down to between -50 and -90 and lower Whites until the signs and lamps show detail again. Presets that add contrast make this worse, so lower the preset’s Amount if needed.
Can I use Lightroom presets on phone night mode photos?
Yes, but go gently. Phone night modes already brighten and denoise the image, so presets that lift shadows or add clarity can look harsh. Try an Amount of 40 to 70 and check the dark areas closely.
What white balance should I use for city night photos?
There is no single value. Balance for the light on your main subject with the eyedropper, then leave the scene slightly warm. Fix other areas with masks rather than chasing a perfectly neutral frame.
Keep reading
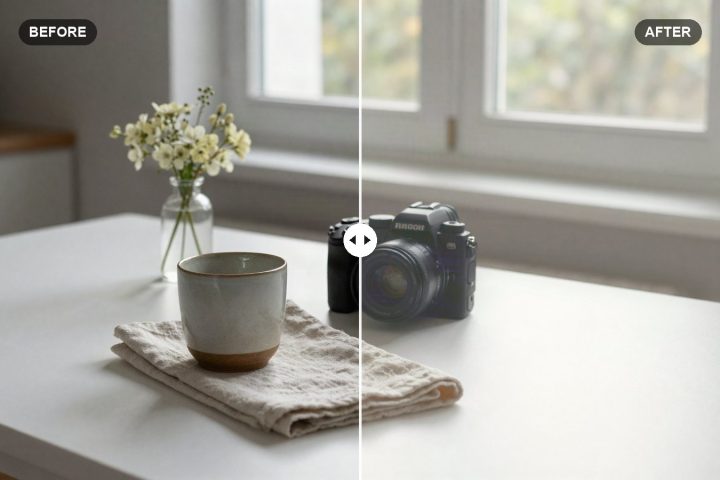
Bright and Airy Lightroom Preset Settings: Full Recipe
Copy our bright and airy Lightroom recipe, slider by slider, for clean whites, soft shadows and gentle pastel color on any well-lit photo.
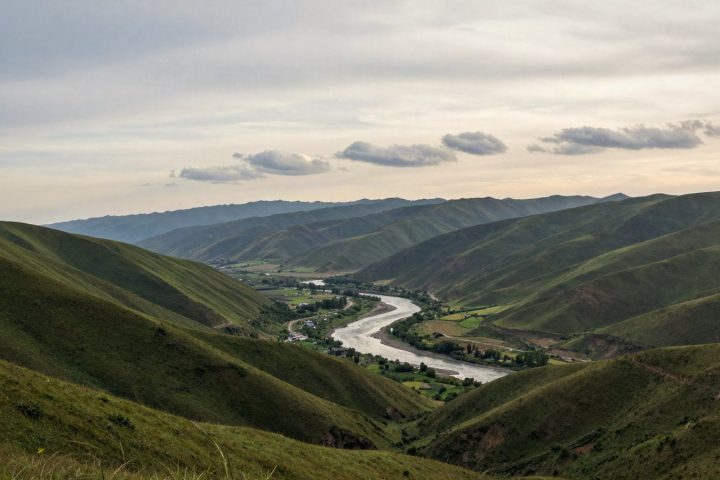
Edit Landscape Photos with Lightroom Presets: Skies and Greens
Apply a landscape preset, then fix what it can't: a washed-out sky, neon greens and flat haze, with starting values for each.
How to Edit Photos With Presets: A Step-by-Step Workflow
The full preset workflow we use on almost every photo, from picking a preset and setting its Amount to masks, finishing touches and export.