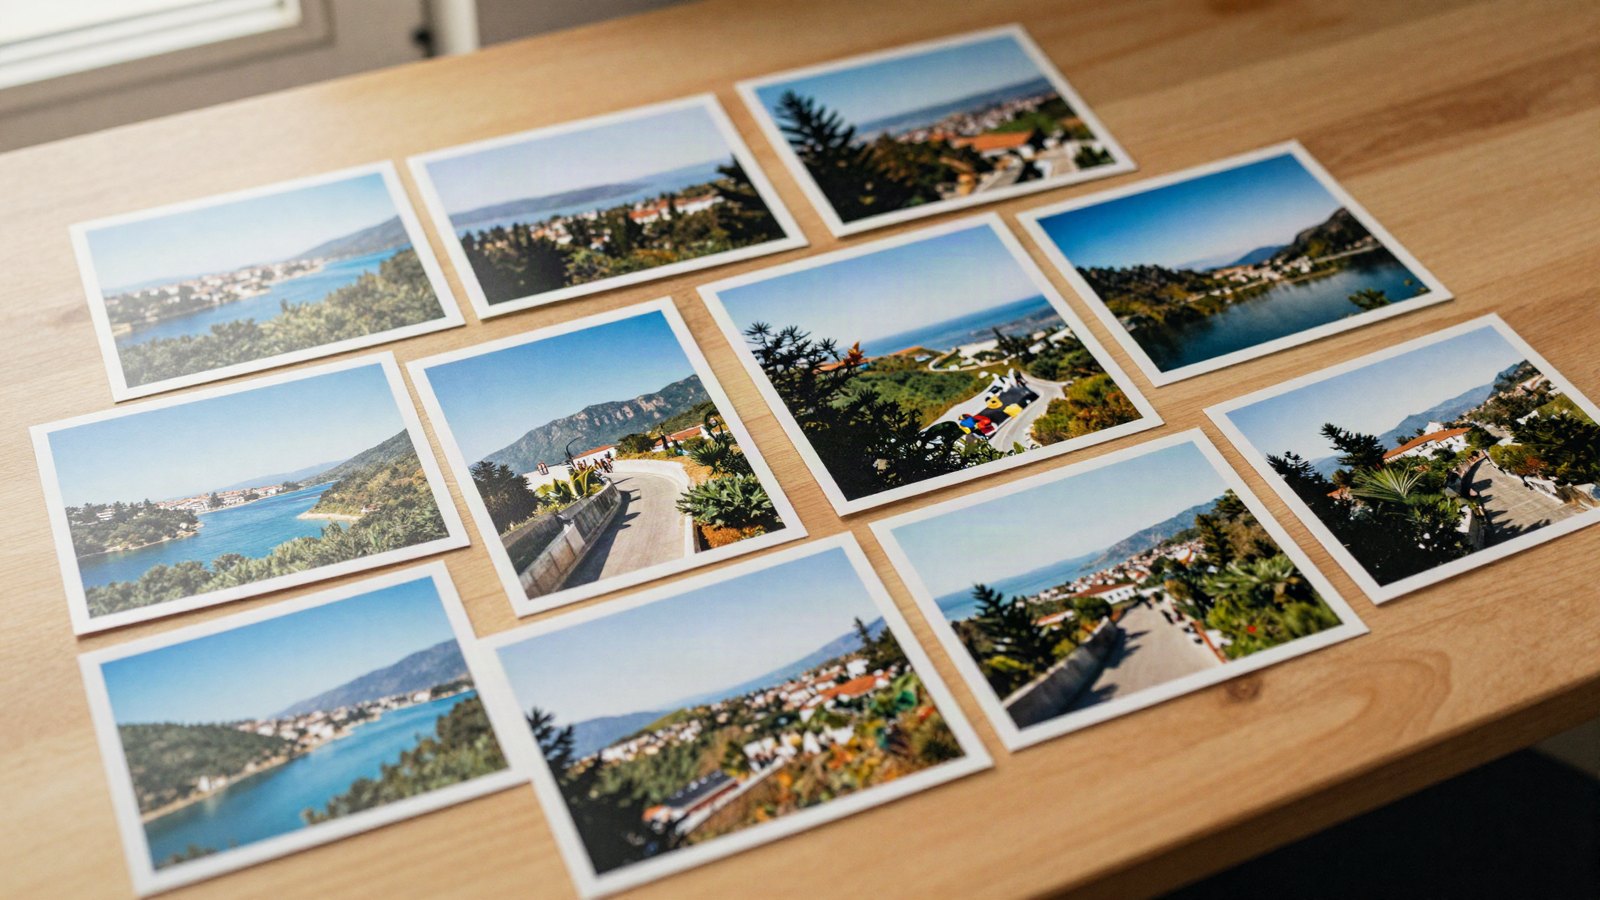
One good preset is useful. A family of five that share the same character, light, dark, warm, cool and a black and white, is what makes a body of work look like yours. It is also what lets you edit a whole shoot quickly, because every photo gets a version of the same look instead of a different preset each time.
This guide is about building your own preset pack: deciding what stays fixed across the family, creating a base preset and controlled variations, naming them so they stay organized, and testing the set on 20 photos before you rely on it. If you have never saved a preset before, start with our guide to creating your own Lightroom preset, then come back here.
Quick answer: Build one base preset on a typical, well-exposed photo. Then make three to five variations that each change only one to three settings, such as the curve for light and dark or Color Grading for warm and cool. Tick the same settings in every preset, name them with a shared prefix, and test the whole set on 20 varied photos.
On this page
- Step 1: Decide what makes the family a family
- Step 2: Build the base on a middle photo
- Step 3: Make variations that change as little as possible
- Step 4: Tick the same settings in every preset
- Build variations quickly with virtual copies
- Name the pack so it sorts itself
- Test the family on 20 photos
- Back it up and keep it consistent
- Your next edit
- FAQ
Step 1: Decide what makes the family a family
Before you touch a slider, decide which parts of the look never change. These are the family’s fingerprint, and they are what keeps the variations recognizable as one set. Pick three or four:
- Profile: one profile for the whole family, such as Adobe Color or Adobe Portrait. Mixing profiles is the fastest way to lose consistency.
- Curve shape: for example, a gentle S-curve with the black point lifted to around 15. Variations can move the curve, but the shape stays.
- Color treatment: how greens, blues and skin render in HSL/Color or the Color Mixer. If greens lean olive in the base, they lean olive everywhere.
- Grain and finish: if the family has grain, every member has the same grain.
Write these down. When a variation starts drifting, this list tells you which settings to leave alone.
Step 2: Build the base on a middle photo
The base preset should sit in the middle of everything you shoot, not at an edge. Choose a photo in even daylight or open shade, correctly exposed, with some skin, some sky or neutral tones, and some green if you shoot outdoors. Build the full look on it, working through tone, curve, color, grading and effects.
Leave Exposure and White Balance out of the preset, as always. Everything else that defines the style goes in. Save it as the first member of a new group, then leave it alone while you build the variations. Changing the base halfway through means redoing every variation.
Step 3: Make variations that change as little as possible
A good variation is the base preset with one idea added. If a variation changes ten settings, it is a different preset, not a variation. Aim for one to three changes each.
| Variation | What changes | Typical move from the base |
|---|---|---|
| Light | Shadows, Blacks, curve midpoint | Shadows +15, Blacks +10, midtone point raised slightly |
| Dark | Blacks, Highlights, vignette | Blacks -15, Highlights -15, Vignette -10 more |
| Warm | Color Grading highlights and midtones | Highlights hue around 40, saturation +8; small warm midtone |
| Cool | Color Grading shadows | Shadows hue around 210, saturation +8 to +12 |
| Black and white | Treatment and B&W mix | Switch to Black & White, keep the same curve and grain |
| Soft | Texture, Clarity, skin hues | Texture -10, Clarity -5, Orange saturation -5 |
Use the numbers as a starting point, not a rule. What matters is the size of the steps: the Light and Dark versions should feel like the same look in different weather, not two styles.
Key takeaway: Make warm and cool variations with Color Grading, not with Temp. On raw files, Temp is an absolute Kelvin value, so a “warm” preset with white balance baked in would force every photo to the same temperature. Color Grading adds warmth on top of whatever white balance you set for each photo.
For more on picking grading hues that suit each other, see our guide to Lightroom color grading.
Step 4: Tick the same settings in every preset
This is the detail that breaks most homemade packs. When you apply a preset, Lightroom only changes the settings that preset includes. Anything unticked stays as it was.
Imagine your Dark variation includes Vignette, but your Light variation does not. Try Dark on a photo, then switch to Light, and the dark vignette stays. The photo now looks like neither preset. The fix is simple: when you create each member of the family, tick the same list of settings, even ones the variation does not change. That way, switching between presets in the family fully replaces the previous one.
The exception is deliberate add-on presets, such as a grain-only or matte-only tool meant to stack on top. Keep those in a separate group, like “Coast Tools”, so they are never confused with full looks.
Build variations quickly with virtual copies
In Lightroom Classic, virtual copies make this fast. With your base-edited photo selected, choose Photo > Create Virtual Copy (Ctrl+’ on Windows, Cmd+’ on Mac). Each copy shares the same file but holds its own edit.
- Make one virtual copy per planned variation.
- Adjust each copy with only the changes for that variation.
- Compare them side by side in Survey view (press N) to check the steps between them feel even.
- Select each copy in Develop and create a preset from it, using the same settings checklist every time.
In Lightroom desktop and mobile, recent versions include a Versions feature that lets you save several named edits of one photo. The workflow is similar, though the exact menus may differ slightly by version.
Name the pack so it sorts itself
Lightroom lists presets alphabetically within a group, and mobile screens cut long names short. A naming pattern solves both problems:
- Group: the family name, such as “Coast”.
- Presets: family name plus a two-digit number plus the variation, such as “Coast 00 Base”, “Coast 01 Light”, “Coast 02 Dark”, “Coast 03 Warm”.
- Keep it short: two or three words after the number is plenty.
The number keeps the base at the top and the variations in a sensible order. Avoid version words like “v2” or “final” in preset names. Update the existing preset instead, and keep dated backups as files.
Test the family on 20 photos
One photo proves nothing. Before you trust a pack, build a fixed test set of 20 photos you can reuse for every family you make. A balanced mix we like:
- 5 bright daylight photos
- 4 shade or overcast photos
- 3 indoor photos under warm light
- 3 golden-hour photos
- 3 portraits with visible skin
- 2 low-light or night photos
Put them in a collection in Classic or an album in Lightroom desktop. Apply the base to all 20, set white balance and exposure per photo as you normally would, and look at the grid. Then repeat with each variation, using virtual copies so you can compare.
Look for problems that repeat, not one-off bad photos. Our rule of thumb: if more than four or five of the 20 need large fixes beyond white balance and exposure, the base needs work. Typical repeat offenders are orange skin, neon greens, crushed shadows on dim shots and clipped skies. Our guide to why presets look different on every photo lists the usual fixes.
When you fix something in the base, apply the same fix to every variation and use Update with Current Settings on each. In Classic it is in the preset’s right-click menu; recent versions of Lightroom desktop and mobile offer a similar Update option.
Back it up and keep it consistent
Once the family passes the test, export the group as .xmp files and store a dated copy outside Lightroom. Our guide to exporting and sharing presets covers where the files live and how to send them to someone else.
Your next edit
Pick the preset you already use most and treat it as a base. Build a Light and a Dark variation that change no more than three settings each, tick the same settings in all three, and run them across your 20-photo test set. When those three hold up, add Warm and Cool.
FAQ
How many presets should a preset pack have?
Five to eight is plenty for one family: a base plus light, dark, warm, cool, black and white and perhaps a soft portrait version. More than that and the steps between them get too small to see.
Should variations include white balance?
No. Set white balance per photo and create warm and cool variations with Color Grading instead. On raw files, a Temp value in a preset sets the same temperature on every photo, whatever the light.
Why does switching between my presets leave parts of the old look behind?
The presets include different settings. Lightroom leaves unticked settings unchanged, so any setting only one preset includes stays behind. Tick the same settings in every preset of the family.
How do I test a preset pack properly?
Use a fixed set of about 20 varied photos covering daylight, shade, indoor light, golden hour, portraits and low light. Apply each preset to all of them and look for problems that repeat across the grid.
Keep reading

Edit Portraits With Lightroom Presets and Keep Skin Natural
Keep skin natural when you use presets on portraits: white balance, Orange in HSL, People masks, gentle softening and a quieter background.
Orange and Teal Lightroom Settings: Cinematic Recipe
A slider-by-slider orange and teal recipe for Lightroom that gives city, travel and portrait shots a cinematic look without turning skin orange.
How to Edit Photos With Presets: A Step-by-Step Workflow
The full preset workflow we use on almost every photo, from picking a preset and setting its Amount to masks, finishing touches and export.