Clicking a preset is the easy part. What separates a quick preset edit from one that looks professional is the two minutes after the click: matching the light, fixing exposure, adjusting one or two areas, and exporting at the right size. Skip those steps and even an excellent preset looks off.
This guide walks through how to edit photos with presets from start to finish, in the order we use for almost every photo, in Lightroom Classic, Lightroom desktop and Lightroom mobile.
Quick answer: To edit a photo with a preset, crop and straighten first, preview a few presets and apply one, lower the Amount if it is too strong, then fix white balance and exposure. Adjust highlights, shadows and any problem color, use masks for the subject or sky, finish with spot removal and sharpening, and export.
On this page
- Step 1: Start with the right photo and file
- Step 2: Fix geometry first
- Step 3: Preview and pick a preset
- Step 4: Set the preset Amount
- Step 5: Correct white balance
- Step 6: Set exposure and tone
- Step 7: Fix one problem color
- Step 8: Add local adjustments with masks
- Step 9: Finishing touches
- Step 10: Export
- Step 11: Reuse your corrections
- Your next edit
- FAQ
Step 1: Start with the right photo and file
Presets work best on photos that are well exposed and in focus. If you shot raw, edit the raw file rather than a JPEG copy. Raw files hold more color and highlight information, so a preset’s tone and color changes look smoother and you have more room to correct white balance afterward.
Before anything else, reset the photo if it has old edits on it. In Lightroom Classic, click Reset at the bottom of the right panel in the Develop module. In Lightroom desktop and mobile, look for Reset in the editor’s menu (the exact label can differ slightly by version). Old settings that a preset does not touch will stay and mix with the new look.
Step 2: Fix geometry first
Crop, straighten and turn on lens profile corrections before you choose a look. A tilted horizon distracts from color, and a crop changes how bright or dark the frame feels overall. It also matters for vignettes, which follow the crop.
- Enable lens profile corrections in Lens Corrections (Classic) or Optics (Lightroom desktop and mobile).
- Straighten the horizon with the Crop tool’s Auto button or the Straighten tool.
- Crop to your final aspect ratio, such as 4:5 for an Instagram post.
Step 3: Preview and pick a preset
Do not click the first preset that looks nice in a thumbnail. Compare three or four on the actual photo.
- Lightroom Classic: hover over presets in the Presets panel and the Navigator panel at top left shows a preview. In recent versions the main photo can preview on hover too.
- Lightroom desktop: open Presets in the Edit panel and hover. The main image previews each preset live.
- Lightroom mobile: tap Presets, then tap a preset to preview it. Tap the checkmark to keep it, or the X to cancel.
Choose a preset that matches the light in your photo. A preset built for golden hour, like our golden hour preset settings, will fight a cool overcast photo. A soft, low-contrast scene suits our bright and airy recipe, while a gray rainy day is a better match for our moody dark settings.
Tip: In Lightroom Classic, make a virtual copy (Photo > Create Virtual Copy) for each preset you are considering, then select the copies and press N for Survey view to compare them side by side.
Step 4: Set the preset Amount
Recent versions of Lightroom Classic, Lightroom desktop and Lightroom mobile show an Amount slider after you apply a preset. It runs from 0 to 200, with 100 being the preset as designed. Values below 100 tone the whole look down and values above push it further.
We set Amount before any other correction. Lowering it to 60 or 80 is often all a heavy preset needs. In some versions the Amount slider disappears once you make other edits, and moving it after tweaking the same sliders can override your changes. Either way, set it first.
Step 5: Correct white balance
White balance is the most common reason a preset looks wrong. Most good presets leave it out on purpose, but your photo still needs it set.
- Pick up the White Balance Selector (the eyedropper) in the Basic panel (Classic) or Color panel (Lightroom desktop and mobile).
- Click on something that should be neutral: a white shirt, gray pavement, a cloud.
- Fine-tune Temp by eye. Warm it for a cozy look, cool it for a crisp one.
- Adjust Tint if you see green or magenta, common under fluorescent light or near green foliage.
Step 6: Set exposure and tone
Now adjust brightness for this specific photo. Set Exposure so your subject looks properly lit. Then check the four tone sliders:
- Highlights down if the sky or bright skin looks blown.
- Whites down if anything glows hot. Hold Alt (Option on Mac) while dragging in Classic or Lightroom desktop to see clipping.
- Shadows up if dark areas hide detail.
- Blacks down a few points if a faded preset looks gray on a low-contrast photo.
Start with Exposure and work down the list. Most photos need only two or three of these once white balance is right.
Step 7: Fix one problem color
Look at the photo for anything that went wrong with color. Skin that is too orange, grass that is neon, or a sky that turned purple are the usual suspects. Open HSL/Color in Classic or the Color Mixer in the Color panel in Lightroom desktop and mobile, and adjust just that hue’s Saturation and Luminance. Small moves of 5 to 15 are usually enough.
Step 8: Add local adjustments with masks
A preset changes the whole image. Masks let you finish it by guiding the eye. Three masks cover most photos:
| Mask | Typical adjustment | Why |
|---|---|---|
| Subject | Exposure +0.2 to +0.4 | Lifts the subject slightly above the background. |
| Sky | Highlights -20 to -40, Saturation +5 to +10 | Brings back cloud detail and color. |
| Background (or inverted Subject) | Exposure -0.2, Clarity -10 | Quiets distractions behind the subject. |
In all versions, open the Masking tool and choose Subject, Sky or Background. In recent versions you can also use Adaptive presets, which create these masks for you with one click.
Step 9: Finishing touches
- Clean up: use the Remove tool to clear dust spots, stray litter or a distracting sign.
- Noise: if the photo was shot at high ISO, deal with noise before sharpening.
- Sharpening: check at 100% zoom. Hold Alt or Option while dragging Masking in Classic to keep sharpening off skin and sky.
- Before and after: press the backslash key (\) in Classic or Lightroom desktop to compare with the original. On mobile, press and hold the photo.
Step 10: Export
Export settings depend on where the photo is going. For social media and the web, export a JPEG in the sRGB color space, sized for the platform, at quality 80 to 90.
- Lightroom Classic: File > Export. Set File Settings (JPEG, sRGB, quality), Image Sizing (Resize to Fit, Long Edge) and Output Sharpening (Screen, Standard).
- Lightroom desktop: click the Share icon or use File > Export, then choose JPEG and a size.
- Lightroom mobile: tap the Share icon, then Export to Camera Roll (or Export As for more options). Labels may differ slightly by version and platform.
Step 11: Reuse your corrections
If you have more photos from the same scene and light, do not repeat all of this by hand. Copy the settings from the finished photo and paste or sync them to the others, then make small per-photo tweaks to exposure and white balance. If you find yourself making the same corrections to a preset every time, save a new version of it with those changes built in.
Your next edit
Run one photo through all eleven steps, timing yourself. The first time takes ten minutes; by the tenth photo it takes two. To practice with a specific look, try our orange and teal preset settings and see how the steps above change it on different light.
FAQ
What order should I edit a photo in Lightroom with a preset?
Crop and lens corrections first, then apply the preset and set its Amount, then white balance, exposure and tone, then color fixes, masks, spot removal, sharpening and export. Applying the preset before your corrections stops it from overwriting them.
Should I apply a preset before or after adjusting exposure?
Before. If the preset includes Exposure, it will replace whatever value you set earlier. Apply the preset first, then correct exposure for the photo.
Can I use more than one preset on a photo?
Yes. A preset only changes the settings it contains, so a color preset and a separate grain or vignette preset can stack. If two presets include the same settings, the last one applied wins.
Why does my photo look worse after the preset?
Usually because the preset was built for different light. Lower the Amount, then fix white balance and exposure. If it still looks wrong, try a preset designed for your type of scene.
Keep reading
Edit Landscape Photos with Lightroom Presets: Skies and Greens
Apply a landscape preset, then fix what it can't: a washed-out sky, neon greens and flat haze, with starting values for each.
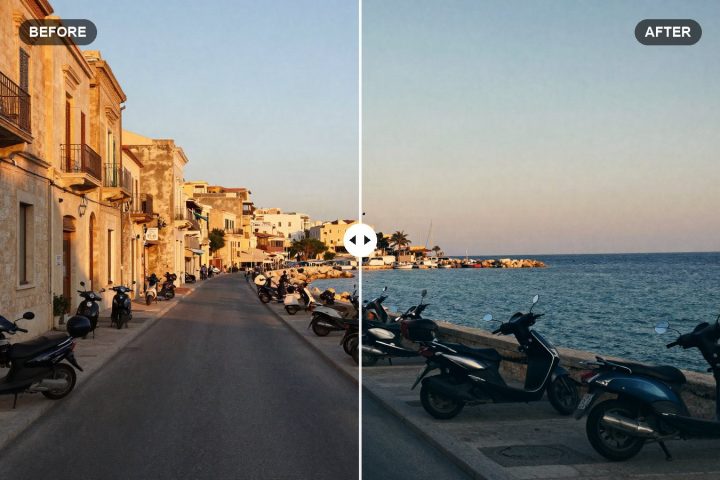
Orange and Teal Lightroom Settings: Cinematic Recipe
A slider-by-slider orange and teal recipe for Lightroom that gives city, travel and portrait shots a cinematic look without turning skin orange.
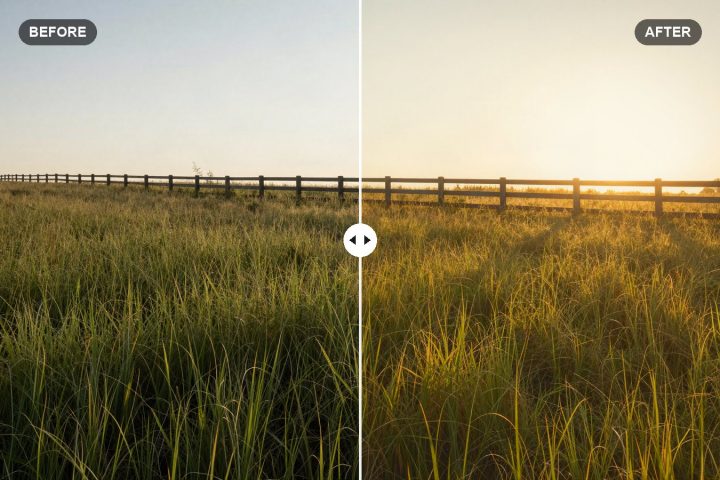
Golden Hour Lightroom Preset Settings for a Warm Glow
Exact Lightroom values for a soft, warm golden hour glow, with tips to boost real sunset light and add warmth to photos shot earlier in the day.