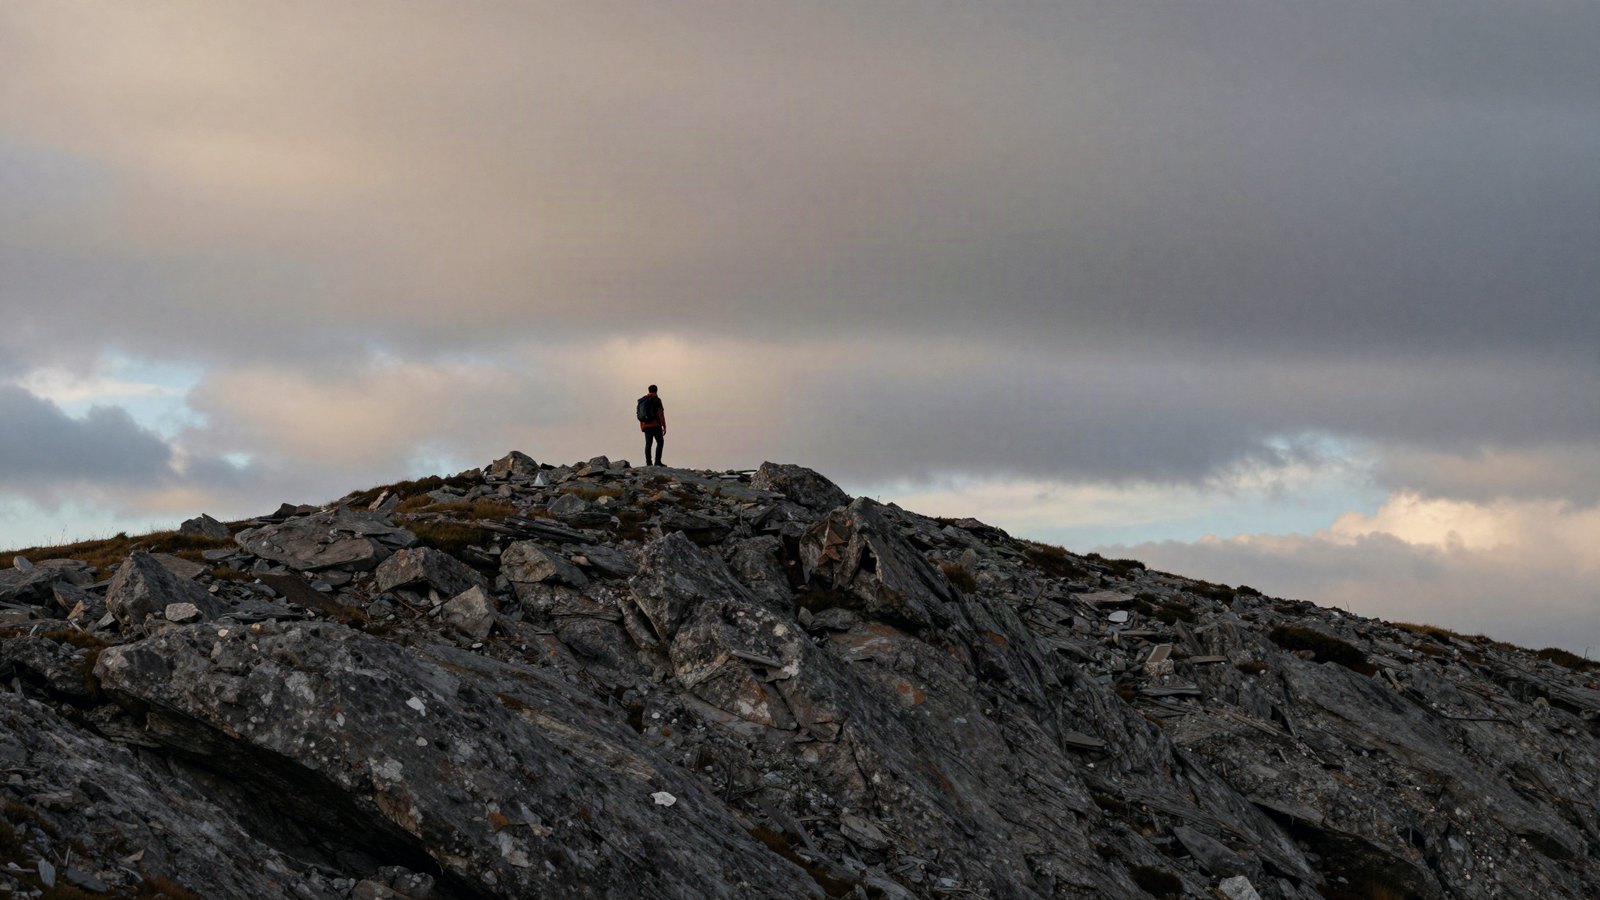
Global sliders change the whole photo. That is fine until the sky needs darkening but the person in front of it does not, or a face is in shadow while the background is already bright. Masking is how you fix one part of a picture without touching the rest, and since Adobe added AI selections it has become the most useful tool in Lightroom.
This guide covers every main mask type, how to combine them, and the small differences between Lightroom Classic, Lightroom desktop and Lightroom mobile.
Quick answer: Lightroom masking lets you edit selected areas of a photo. Open the Masking tool, choose Subject, Sky or Background for an automatic AI selection, or use Brush, Linear Gradient or Radial Gradient to paint or draw one yourself. Then adjust that mask’s own sliders. Add, Subtract and Invert refine the selection.
On this page
- Where to find masking in each version
- AI masks: Subject, Sky and Background
- Manual masks: Brush, Linear Gradient and Radial Gradient
- Range masks: Color, Luminance and Depth
- Combining masks: Add, Subtract, Intersect and Invert
- Seeing your mask clearly
- Three practical masking edits
- Masks inside presets
- Your next edit
- FAQ
Where to find masking in each version
The masking tools are nearly identical everywhere, but they live in slightly different places:
- Lightroom Classic: in the Develop module, click the masking icon in the tool strip under the histogram, or press Shift+W. A Masks panel opens with the list of masks you create.
- Lightroom desktop (the cloud-based app): click the Masking icon in the right-hand tool column.
- Lightroom mobile (iOS and Android): tap Masking in the bottom toolbar of the editor. Some masking features may require a paid plan, depending on your account and version.
Once a mask exists, you get a full set of local sliders for it: Exposure, Contrast, Highlights, Shadows, Whites, Blacks, Temp, Tint, Saturation, Texture, Clarity, Dehaze, Sharpness, Noise and more. The exact list varies slightly by version, but they work exactly like the global sliders, only inside the mask.
AI masks: Subject, Sky and Background
These three are the quickest masks in Lightroom. You click one button and Lightroom analyzes the photo to make the selection for you.
Select Subject
Lightroom finds the main subject, usually a person, animal or prominent object, and masks it. Use it to brighten a face, add a little Clarity to a product, or warm up a person who looks cold against a blue background. It works best when the subject is clearly separated from the background.
Select Sky
Masks the sky, including the gaps between tree branches in most cases. This is the mask we use most. Typical moves: Exposure -0.3 to -0.7, Highlights -20 to -40, and a slight Saturation or Temp shift to deepen a blue sky or warm a sunset. Check the horizon line at 100% zoom, because the edge is where an overdone sky edit shows.
Select Background
Masks everything except the subject. It is effectively an inverted subject mask. Use it to darken or desaturate a busy background so the subject stands out. In recent versions it appears alongside Subject and Sky in the mask menu.
Newer versions also include Objects (brush or draw a box around something and Lightroom refines it), People (separate masks for face skin, body skin, hair, eyes, lips, clothes and more) and, in some versions, Landscape (sky, water, vegetation, mountains and similar regions). These have been added gradually, so the menu you see depends on how up to date your app is.
Key takeaway: AI masks are calculated for the photo they were made on. When you copy them to other photos or include them in a preset, Lightroom recalculates them for each new image. On older versions you may need to click Update to refresh them.
Manual masks: Brush, Linear Gradient and Radial Gradient
AI masks are fast, but manual masks give you control. They are also the right choice when there is no clear subject, or you want a gradual effect.
Brush
Paint the mask exactly where you want it. In Classic the shortcut is K. Brush settings include:
- Size: the brush diameter.
- Feather: how soft the edge is. Keep it high (70 or more) for natural transitions.
- Flow: how much effect each stroke applies. Low flow lets you build up gradually.
- Density: the maximum strength of the brush (desktop versions).
- Auto Mask: keeps the brush from spilling over strong edges. Great for painting along a skyline; turn it off for soft areas like skin.
Each brush has an erase mode for cleaning up mistakes. On desktop, holding Alt (Windows) or Option (Mac) while painting usually switches to erase. On mobile, there is an erase toggle in the brush options.
Linear Gradient
Drag across the photo to create a graduated effect that fades from full strength to zero. In Classic the shortcut is M. The classic use is a sky: drag from the top of the frame down to the horizon and lower Exposure by -0.5. It works like a graduated ND filter on a lens.
Radial Gradient
Draw an oval that affects either the inside or the outside. In Classic the shortcut is Shift+M. Use it as a custom vignette (darken outside the oval) or as a spotlight (brighten inside the oval over a face). Feather controls how soft the edge is, and around 70 to 90 keeps it invisible.
Range masks: Color, Luminance and Depth
Range masks select pixels by their properties instead of by location.
- Color Range selects pixels of a sampled color. Click an area of the color you want and adjust the refine slider to widen or narrow it.
- Luminance Range selects pixels in a brightness range, for example only the brightest highlights.
- Depth Range uses depth data and is only available for photos that include it, such as some iPhone portrait-mode HEIC files.
Range masks shine when you intersect them with another mask, which brings us to combining.
Combining masks: Add, Subtract, Intersect and Invert
Each mask in the Masks panel can contain several components. You build precise selections by stacking them.
- Add: click Add on an existing mask and choose another tool to extend the selection. Example: Select Subject, then Add a Brush to include a dog the AI missed.
- Subtract: remove part of the selection. Example: Select Sky, then Subtract with a Brush to protect a church spire that got caught in the sky mask.
- Intersect: keep only the overlap between two selections. Example: a Linear Gradient intersected with a Color Range of blue darkens only the blue part of the upper sky. On desktop this is reached by holding Alt or Option when you click Subtract, or through the mask’s menu; the exact control varies by version.
- Invert: flips a mask so it selects everything else. Example: invert a Radial Gradient to edit the outside instead of the inside.
Name your masks (double-click the name in the Masks panel on desktop) once you have more than two or three. “Sky”, “Face brighten” and “Background dim” are far easier to come back to than “Mask 1, 2, 3”.
Seeing your mask clearly
Turn on the mask overlay to see exactly what is selected. In Classic, tick Show Overlay at the bottom of the Masks panel, or press O to toggle it. You can change the overlay color and mode, which helps when the default red sits on a red subject. On mobile, the overlay appears automatically while you create a mask, and there is an overlay toggle in the masking options.
Three practical masking edits
1. Brighten a backlit portrait. Select Subject, then set Exposure +0.4 to +0.7 and Shadows +15. If the edge looks halo-like, reduce the amount or subtract a little around the hair with a soft brush.
2. Fix a blown-out sunset sky. Select Sky, set Highlights -50, Exposure -0.3 and Temp +10 for warmth. Then add a Linear Gradient mask at the top of the frame with Exposure -0.3 for extra depth.
3. Make the subject pop on a busy street. Select Background, set Exposure -0.3, Saturation -15 and Clarity -10. The subject stays untouched and looks brighter by comparison.
Masks inside presets
Lightroom can save masks inside presets, which is how many “one-click sky” or “subject pop” presets work. When you create your own preset, the Masking option appears in the list of settings to include. AI masks are recalculated per photo, while brush strokes and gradients keep their original position, so a painted brush from one photo will rarely fit another. If a preset with masks looks wrong on your image, open the masks and adjust them, or see why presets look different on every photo.
Your next edit
Start with Select Sky on a landscape and Select Subject on a portrait. Those two masks alone will improve most of your photos. Once you are comfortable, practice combining a gradient with a range mask. And if you are still learning the basic panels, our Lightroom mobile beginner’s guide is the place to start.
FAQ
Is masking available in the free version of Lightroom mobile?
Some masking tools have been available for free while others, especially the AI selections, have needed a paid plan. Adobe has changed this over time, so check the Masking menu in your app. Paid features are usually marked.
Why is Select Subject not picking up my subject?
The AI looks for a clear main subject. It struggles with low contrast, very small subjects or busy scenes. Add a Brush to the mask to include what was missed, or use Objects in newer versions to point Lightroom at the right thing.
Can I copy masks from one photo to another?
Yes. Copy and paste settings, or sync them, with Masking included. AI masks recalculate on each new photo, but brush and gradient masks keep their original position, so check them on every image.
What is the difference between a mask and a preset?
A preset applies settings to the whole photo (and can include masks). A mask limits adjustments to one part of the photo. Most good edits use a preset or global settings as the base and a few masks for local fixes.
Keep reading
How to Create a Preset in Lightroom Mobile (iPhone, Android)
Save your own presets right on your phone: the Create Preset flow, what each mobile section includes, smart groups and how syncing works.
How to Install Lightroom Presets on Mobile (iPhone & Android)
Three ways to get presets into Lightroom on iPhone and Android: direct XMP import, desktop sync, and the DNG copy-settings method.

Lightroom Mobile Editing for Beginners: Panel by Panel
What every Lightroom mobile panel does, the order to edit in, and the starting slider values that give clean results in two minutes.