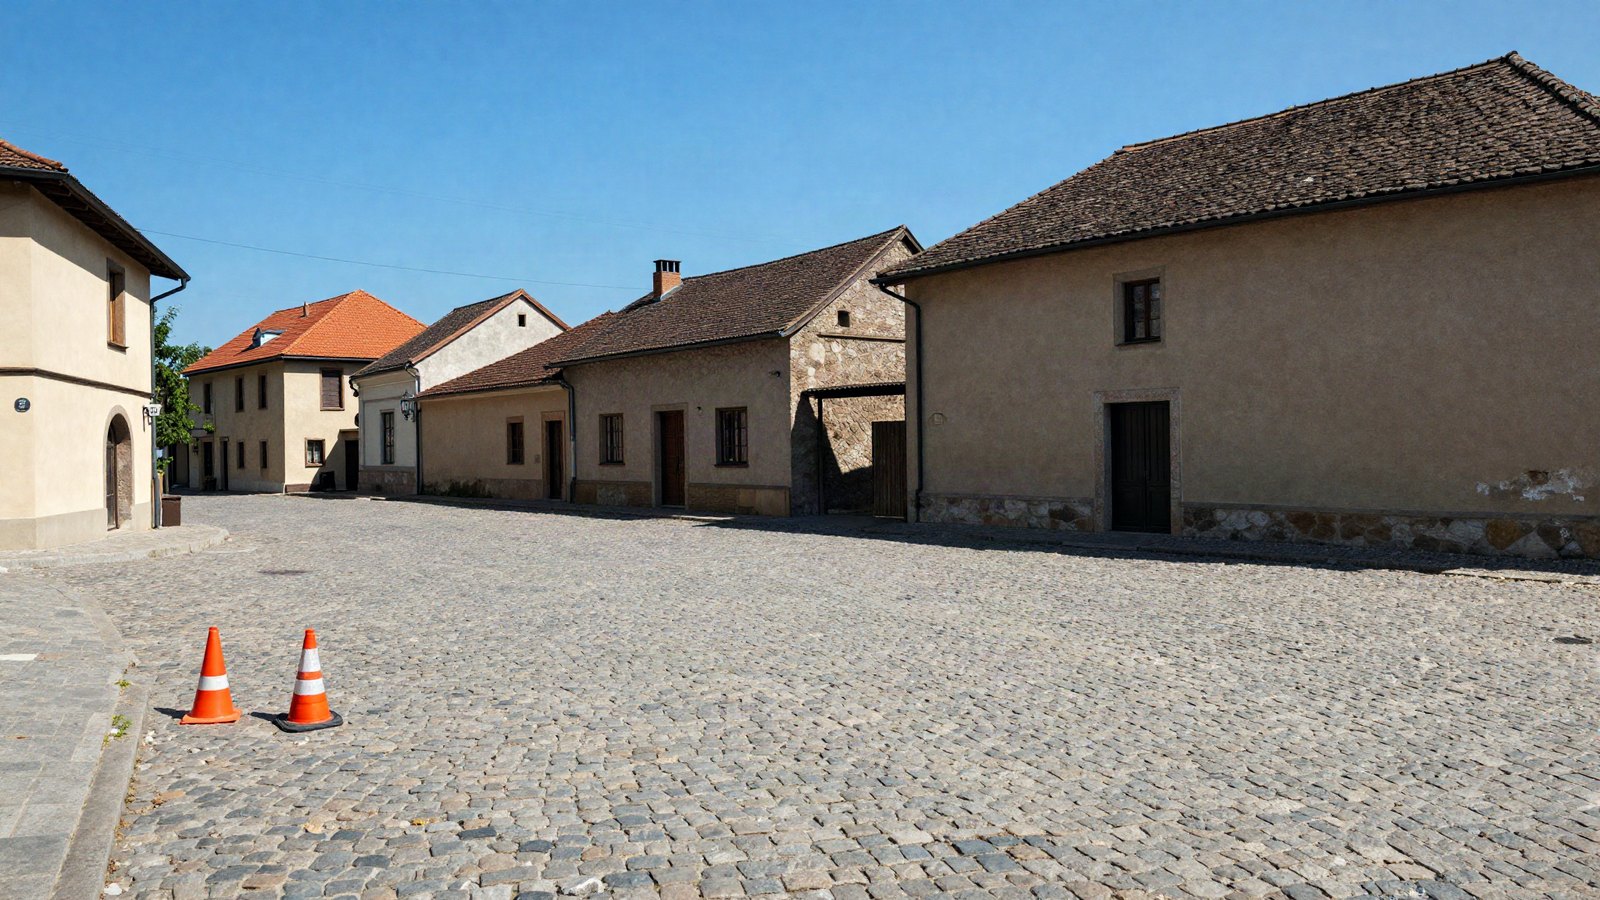
A power line across a perfect sky. A stranger walking through your travel shot. Dust spots from a dirty sensor that only show up once you add contrast. Lightroom’s Remove tool handles all of these without sending the photo to Photoshop, and in recent versions it has become good enough for most everyday cleanup.
The tool has several modes, though, and picking the wrong one is the main reason removals look smudged or repeated. This Lightroom Remove tool guide explains Content-Aware Remove, Heal, Clone and Generative Remove, when to use each, and the settings that make the difference.
Quick answer: Lightroom’s Remove tool erases distractions by painting over them. Content-Aware Remove fills the area automatically and suits most jobs. Heal blends texture from a source area, which is ideal for skin and sensor dust. Clone copies pixels exactly. In recent versions, Generative Remove uses Adobe’s AI to rebuild larger, complex areas.
On this page
Where to find the Remove tool
- Lightroom Classic: in the Develop module, click the Remove icon (a bandage-style icon) in the tool strip under the histogram, or press Q.
- Lightroom desktop: click the Remove icon in the tool strip on the right side of the window. It replaced the older Healing tool, so in some versions it may still look or be labeled like a healing brush.
- Lightroom mobile: tap Edit, then find Remove in the row of tools along the bottom (or side, on tablets). Swipe through the tool row if you do not see it right away.
Older versions called this the Spot Removal or Healing tool and offered only Heal and Clone. If you see just those two modes, your version predates Content-Aware Remove.
The modes, and when to use each
Content-Aware Remove
Paint over the object and Lightroom fills the area using what it sees around it. You do not choose a source. This is the best default for small to medium objects on varied backgrounds: a sign on a wall, a bird in the sky, a piece of litter on grass.
If the fill looks wrong, ask Lightroom to try again. Depending on version there is a refresh option for the selected spot, or you can paint the stroke again slightly differently. Each attempt samples the surroundings in a new way.
Heal
Heal copies texture from a source area and then blends the color and brightness to match the spot you are fixing. It is ideal for skin blemishes, sensor dust and small marks on smooth backgrounds, because it keeps the surrounding tone while replacing the texture.
After you paint, Lightroom shows a second outline marking the source. Drag that outline to a better match if the result looks off. In Classic, pressing the forward slash key (/) asks Lightroom to pick a new source for the selected spot.
Clone
Clone copies the source area exactly, with no blending. Use it where precision matters more than smoothness: continuing a straight edge, rebuilding a section of brick pattern, or fixing an area next to a sharp line, where Heal would smear the edge.
Generative Remove
In recent versions, the Remove tool includes a generative AI option (often a “Use Generative AI” checkbox or a Generative toggle). It uses Adobe Firefly to rebuild the area, which handles large objects, people in the background and complex scenes far better than the other modes.
A few things to know:
- It needs an internet connection, because the processing happens on Adobe’s servers.
- It usually gives you a few variations to choose from. Flip through them before accepting one.
- It can count against Adobe’s generative credits, depending on your plan.
- Availability varies by app, version and region, and the label may differ slightly from what is described here.
Quick tip: Match the mode to the size of the job. Heal for anything the size of a pimple or dust spot, Content-Aware Remove for anything up to the size of a small object, and Generative Remove for people, cars and anything that crosses complex detail.
The settings that matter
Every mode shares a few controls:
| Setting | What it does | Good starting point |
|---|---|---|
| Size | Brush diameter | Just bigger than the object |
| Feather | Softness of the edge | Low for sharp objects, higher for skin |
| Opacity | Strength of the fix | 100, lower to partly fade a blemish |
In Classic, the square bracket keys ([ and ]) shrink and enlarge the brush, which is much faster than dragging the slider. A brush only slightly bigger than the object gives the cleanest result. Oversized strokes give Lightroom more to invent and more room to go wrong.
Lowering Opacity is a classic retouching trick for skin. Removing every line and mark makes a face look artificial; healing them at 50 to 70 opacity softens them while keeping the person recognizable.
Removing sensor dust across a whole shoot
Dust on the sensor shows up as soft gray blobs in the same position on every photo, most visible in skies at small apertures. Fixing it once and syncing is far faster than fixing every frame.
- Find the spots. In Classic, turn on Visualize Spots in the toolbar under the photo (the A key toggles it while the tool is active). It shows the image as a high-contrast outline map, and dust jumps out as small circles. Drag the slider next to it to adjust sensitivity.
- Fix them with Heal. Click each spot with a brush slightly bigger than the dust.
- Sync to the other photos. Select the other images from the same session, click Sync, and tick only the spot removal or Remove option. See our batch editing guide for how Sync works.
- Check each frame. Synced spots land in the same position, which is right for dust but can land on a subject in some frames. Scan through quickly and delete any that misfire.
Some recent versions also offer automatic detection options inside the Remove tool, such as finding dust spots, people or distracting objects, or removing reflections. These are labeled differently between Classic, desktop and mobile, and not every version has them, so look for a Detect or Distraction option in your Remove panel.
Removing larger objects step by step
- Zoom in. Work at 100% or closer for the edges.
- Paint the whole object in one stroke if you can. Include its shadow and any reflection, or Lightroom will leave a ghost behind.
- Use Generative Remove for anything big or complex. If it is not available, use Content-Aware Remove in two or three overlapping strokes instead of one huge one.
- Clean up repeats. Fills sometimes copy a visible pattern, like the same cloud twice. Add a small Heal or Clone spot over the repeated detail.
- Check at normal size. Zoom out to fit the screen. Removals that look rough at 200% often vanish at viewing size.
Where the Remove tool fits in your workflow
We do removals early, after basic exposure and white balance but before heavy contrast, Clarity or a strong preset. Those adjustments can make a slightly mismatched patch more visible, and it is easier to judge the fill on a neutral image.
Removals are saved as part of the edit, so they are non-destructive like everything else in Lightroom. You can select a spot later and delete it, or move its source. Presets normally do not include removals, because they are specific to each photo, which is why a preset you apply afterward will not disturb them.
For portrait retouching, pair the Remove tool with masks for softening skin rather than healing everything. Our guide to editing portraits with presets shows how the two work together.
Your next edit
Pick one travel photo with a distraction and try the same removal three ways: Heal, Content-Aware Remove and, if you have it, Generative Remove. Comparing them on the same spot teaches you faster than any rule. Then refine the rest of the photo with targeted adjustments from our Lightroom masking guide.
FAQ
What is the difference between Heal and Content-Aware Remove in Lightroom?
Heal copies texture from a source area you can move, then blends its color and brightness into the spot. Content-Aware Remove has no source; Lightroom builds the fill from the surroundings automatically. Heal is better for skin and dust, Content-Aware Remove for objects.
Does Generative Remove need the internet?
Yes. Generative Remove sends the area to Adobe’s servers for processing, so it only works online. It may also use generative credits depending on your plan. Heal, Clone and Content-Aware Remove work offline.
Can I remove the same dust spots from many photos at once?
Yes. Fix the spots on one photo, select the others, then use Sync (or copy and paste settings) with only the spot removal option ticked. Check each photo afterward in case a spot lands on your subject.
Why does the Remove tool leave a blurry patch?
Usually the brush is too large, the Feather is too high, or the mode does not suit the area. Use a smaller brush, lower the Feather near sharp edges, or switch to Clone or Generative Remove.
Keep reading
Lightroom White Balance Guide: Temp, Tint and Eyedropper
Fix color casts for good: Temp and Tint, the eyedropper, As Shot vs Auto, RAW vs JPEG, and masks for mixed light.

Lightroom Crop and Straighten Guide: Ratios, Upright, Guided
Level horizons, pick the right aspect ratio and fix leaning buildings with Upright and Guided Upright in Lightroom.

Lightroom Lens Blur Guide: Natural Background Blur
Add believable background blur in Lightroom: Blur Amount, bokeh shapes, Focal Range and refining the AI depth map.