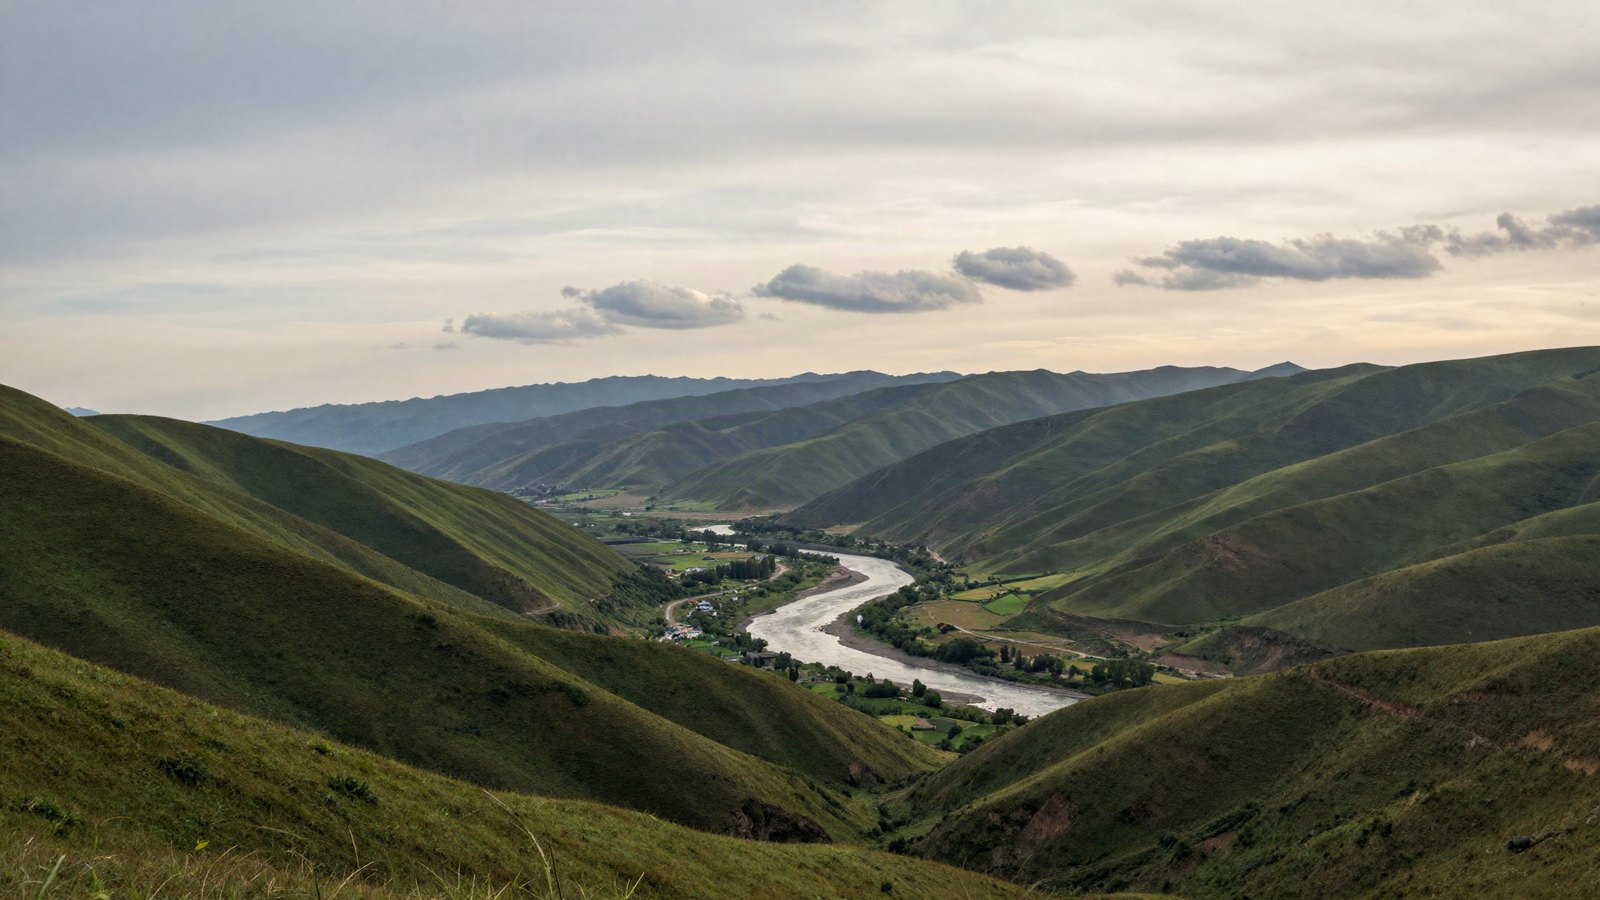
Landscape photos are where presets most often disappoint. The preset looked great on the sample shot, then on your own mountain view the sky turns grey, the grass goes neon and the distant hills vanish into haze. That is not a broken preset. Landscapes have a huge brightness range and a lot of green, and a global preset can only do so much with either.
This guide shows how to edit landscape photos with Lightroom presets the way we do: pick a preset that suits the light, then fix the sky, the greens and the haze with a few targeted adjustments. It works in Lightroom Classic, Lightroom desktop and Lightroom mobile, and we point out where the menus differ.
Quick answer: Apply a landscape preset, lower its Amount if it feels heavy, and reset white balance and exposure for your scene. Then add a Select Sky mask to darken and recover the sky, calm the greens with the Green and Yellow sliders in HSL/Color Mixer, and use Dehaze carefully to cut haze. Finish with a straight horizon and lens corrections.
On this page
Pick a preset that matches the light, not the location
A preset built on a golden-hour beach will usually work better on a golden-hour forest than on a midday beach. Light decides how a preset behaves far more than subject does. Sort your landscape shots into three rough groups before you start:
- Soft light: overcast days, shade, fog. Low contrast to begin with, so presets with added contrast and clarity tend to suit them.
- Hard midday light: deep shadows and bright skies. Choose presets that pull Highlights down and lift Shadows, and avoid ones that add more contrast.
- Warm low sun: sunrise and sunset. Warm or golden presets look natural here, and you can be bolder with color.
Then try two or three candidates. In Lightroom Classic, hover over presets in the Presets panel and the Navigator previews each one. In Lightroom desktop and mobile, the preview updates as you hover or tap. Once you pick one, recent versions show an Amount slider for the applied preset. Pulling it back to 60-80 is often all a strong look needs, and it keeps the preset’s character while softening every setting in proportion.
Reset white balance and exposure first
Most good presets leave white balance and exposure alone, but some do not. Either way, check them before anything else, because every later decision depends on them.
- White balance: for raw files, start from As Shot, then nudge Temp. Landscapes often look better slightly warm in morning or evening light and slightly cool on overcast days. Watch the clouds: white clouds should stay close to white.
- Exposure: set it for the land, not the sky. You will fix the sky separately in a moment, so let it run a little bright for now.
- Whites and Blacks: hold the Alt key (Windows) or Option key (Mac) while dragging in Classic and desktop to see clipping. Stop just before large areas turn solid.
If a preset still looks off after this, the cause is usually one of the issues in why presets look different on every photo.
Fix the sky with a Select Sky mask
The sky is usually the brightest part of a landscape, so a preset that suits the foreground often leaves it washed out. Masking fixes this without touching the land.
Lightroom Classic: open the Masking panel (the circle icon under the histogram, or press Shift+W) and choose Sky. Lightroom desktop and mobile: open Masking and choose Select Sky. The exact label may differ slightly by version, and recent versions also add a Landscape option that can detect areas such as sky, water, vegetation and mountains if your version offers it.
With the sky mask active, these starting values work on most daylight skies:
| Setting | Value | Why |
|---|---|---|
| Exposure | -0.3 to -0.7 | Brings a bright sky back into balance with the land. |
| Highlights | -20 to -50 | Recovers detail in bright clouds. |
| Temp | -5 to -10 | Gives a midday sky a cleaner blue. Skip this at sunset. |
| Saturation | +5 to +15 | Restores color lost when you pulled the exposure down. |
| Dehaze | +5 to +15 | Adds depth and separates the clouds. |
Zoom in on the horizon afterward. Trees, mountain ridges and buildings against the sky are where masks sometimes slip. Use the mask’s Subtract option with a brush to clean up any edge that turned dark. Our Lightroom masking guide covers adding and subtracting in detail.
Quick tip: If the sky looks fake after masking, lower the mask’s Exposure before anything else. A sky that is darker than the land in front of it, on a sunny day, reads as edited almost immediately.
Use a graduated tweak when there is no clear sky
Select Sky needs something it can recognize as sky. On foggy hills, dense cloud or seascapes where sea and sky blend, a Linear Gradient often gives a more natural result. In Classic, press M or choose Linear Gradient in the Masking panel. In desktop and mobile, it is in the Masking menu.
Drag from the top of the frame down to just past the horizon. The space between the lines is the transition, so a longer drag gives a softer fade. Apply a small negative Exposure, around -0.3, and a little negative Highlights. You can also drag a second gradient up from the bottom edge to darken a bright foreground such as a beach or snow.
Calm the greens
Bright, saturated green is the most common giveaway of an over-edited landscape. Many presets push Vibrance or Saturation for skies and flowers, and grass and trees take the hit.
Open the HSL/Color panel in Classic or the Color Mixer in desktop and mobile. Here is the part most people miss: a lot of foliage, especially in summer and autumn, sits in the Yellow channel, not just Green. Use the targeted adjustment tool (the small target icon) and drag directly on the grass to see which sliders it moves.
- Green Saturation -10 to -30 tames neon grass and leaves.
- Green Hue -5 to -15 shifts greens slightly toward yellow for a warmer, more natural look. Positive values push toward a cooler, bluish green.
- Yellow Saturation -5 to -20 catches the foliage that Green missed.
- Green Luminance -5 to -15 darkens foliage a little and adds density.
If you only want to change the trees, use a mask instead: Select Subject sometimes catches a single tree, and a brush works for the rest. For the overall palette, the Color Grading panel is the next step once the greens behave.
Handle haze with Dehaze, carefully
Dehaze sits in the Basic panel in Lightroom Classic and in the Effects panel in Lightroom desktop and mobile. It cuts atmospheric haze, which makes distant hills and skylines pop. It also darkens the image and increases saturation, especially in blues, so a little goes a long way.
- Global Dehaze: +5 to +15 for most hazy daylight scenes.
- Masked Dehaze: apply +15 to +30 only on the distant part of the scene with a Linear Gradient or the sky mask. The foreground stays natural.
- Negative Dehaze: -5 to -15 adds mist and softness for moody forest or fog shots.
After adding Dehaze, check the shadows. If they go too dark, lift Shadows by 5 to 10 rather than reducing Dehaze straight away.
Finish: horizon, lens corrections and detail
Three last checks before you export a landscape:
- Straighten the horizon. A tilted horizon is the first thing viewers notice. Use the Straighten tool or Auto in the crop tool. Our crop and straighten guide covers Upright for leaning trees and buildings.
- Enable lens corrections. In Classic, tick Enable Profile Corrections and Remove Chromatic Aberration in Lens Corrections. In desktop and mobile, use the same options in Optics. This removes dark corners and color fringing on branches against the sky.
- Add modest texture. Texture +5 to +15 brings out rock and foliage detail. Keep Clarity under about +20, since higher values create halos along the horizon.
If you shoot many frames of the same scene, finish one, then copy and paste its settings to the rest. You may need to adjust the Linear Gradients, while AI masks such as Select Sky can be recalculated for each photo. Recent versions may ask you to update those masks after pasting.
Your next edit
Take one landscape you have struggled with and run it through this order: preset and Amount, white balance and exposure, sky mask, greens, haze, then finishing. Save the sky and greens adjustments as part of your own preset once you find values you like. When you want something that adapts to each sky automatically, read our guide to adaptive presets next.
FAQ
What is the best Lightroom preset for landscape photos?
There is no single best one. Pick a preset that matches the light in your photo, such as a soft preset for harsh midday sun or a warm one for sunset, and expect to adjust the sky and greens afterward.
Why does my sky turn grey or white after applying a preset?
Many presets lift Shadows and Exposure for the foreground, which pushes an already bright sky toward white. Add a Select Sky mask and lower its Exposure and Highlights to bring the color back.
How do I make grass look less neon in Lightroom?
Lower Green and Yellow Saturation in the HSL/Color panel or Color Mixer, and move Green Hue slightly toward yellow. Use the targeted adjustment tool on the grass to find the exact channels.
Can a preset include a sky mask?
In recent versions, yes. AI masks like Select Sky can be saved in a preset and recalculate for each new photo. Hand-drawn brush masks do not adapt, so leave them out.
Keep reading
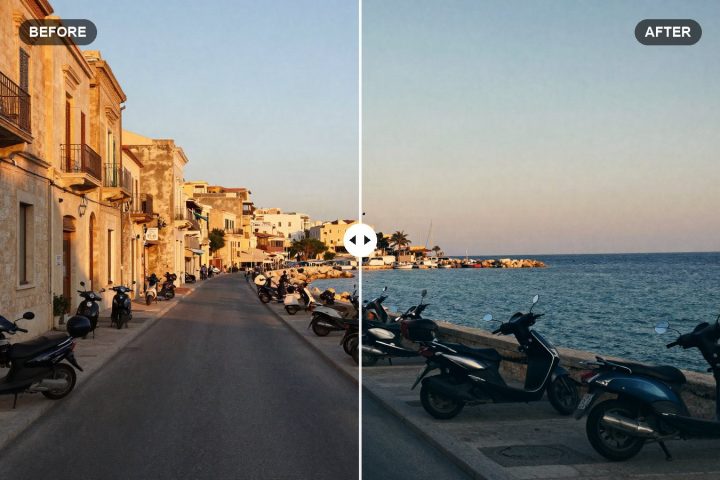
Orange and Teal Lightroom Settings: Cinematic Recipe
A slider-by-slider orange and teal recipe for Lightroom that gives city, travel and portrait shots a cinematic look without turning skin orange.

Bright and Airy Lightroom Preset Settings: Full Recipe
Copy our bright and airy Lightroom recipe, slider by slider, for clean whites, soft shadows and gentle pastel color on any well-lit photo.
Build Your Own Lightroom Preset Pack: Base Plus Variations
Turn one look into a consistent family: a base preset, small controlled variations, names that sort themselves and a 20-photo test set.